Configuring OVH
In this tutorial, we'll see how to generate the different API keys with OVH.
Translations
This tutorial is also available in the following languages:
Configuration
Constant values
Those values are constants and are not supposed to change:
OVH_ENDPOINT="ovh-eu"
OS_AUTH_URL="https://auth.cloud.ovh.net/v3/"
Create a public cloud project
Create a project if there's no one existing:
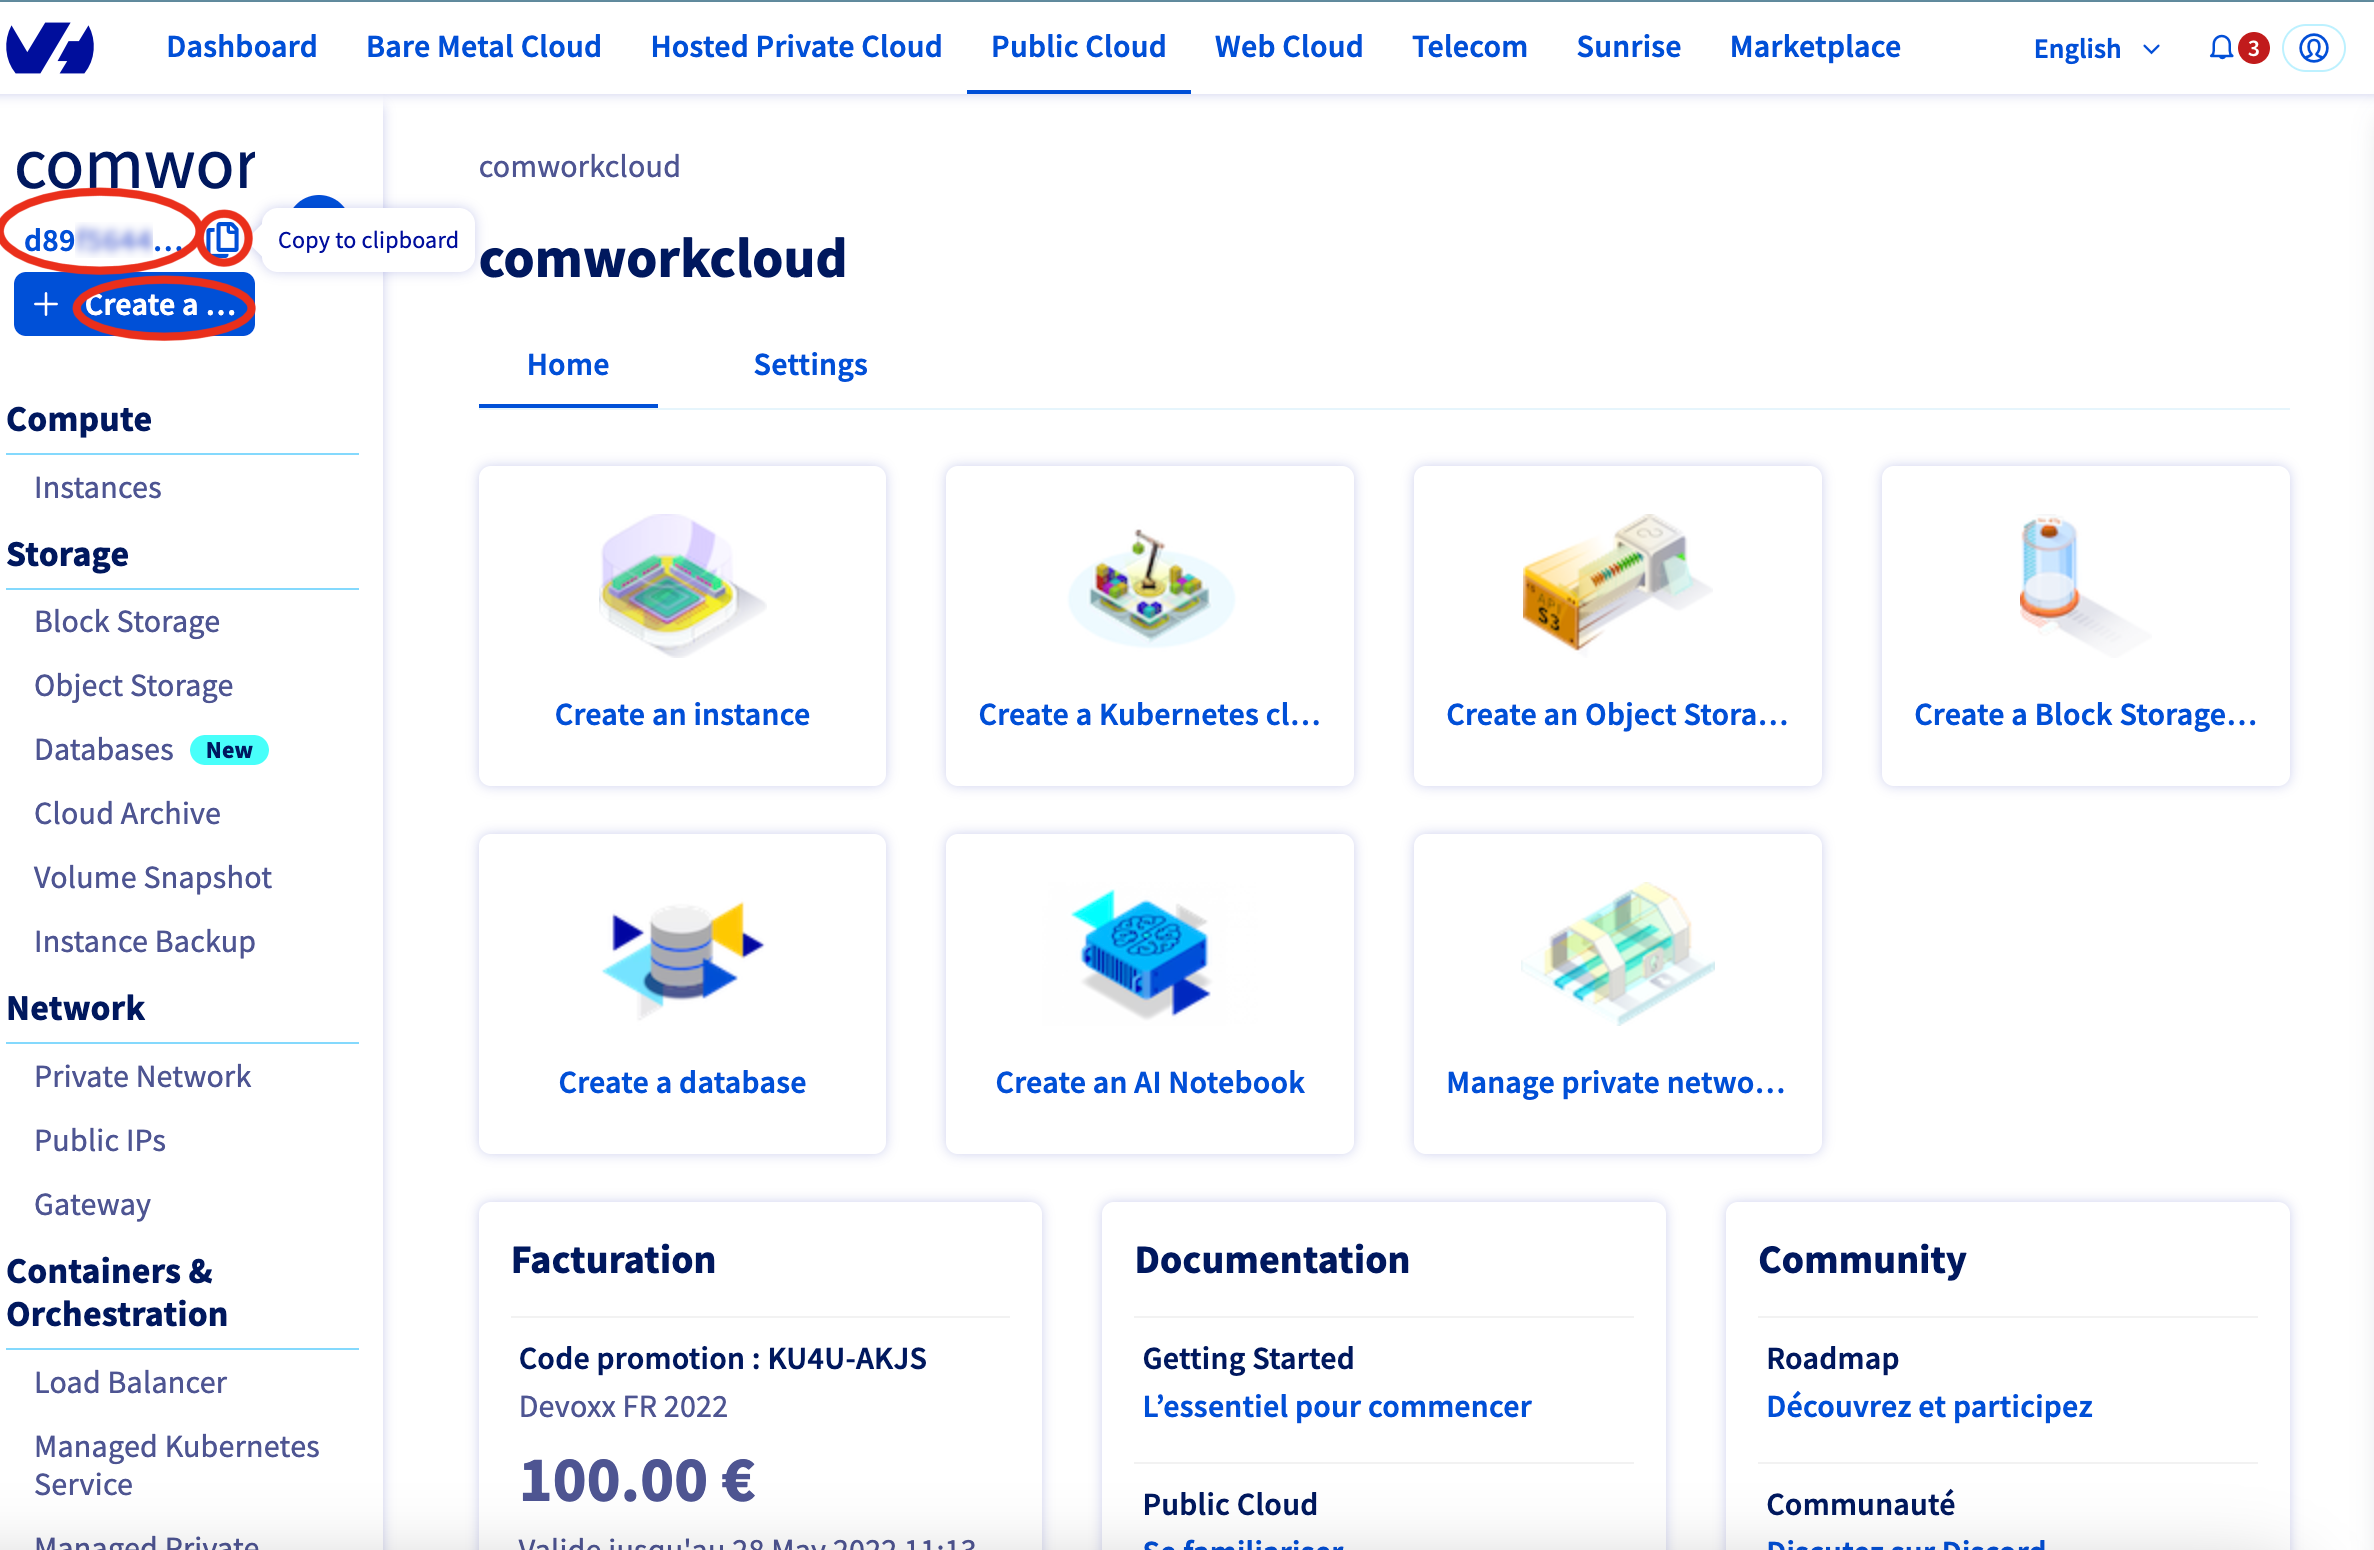
Copy the project's id's value in the folling variable:
OVH_SERVICENAME="d89XXXXXXXX"
Create a public cloud user
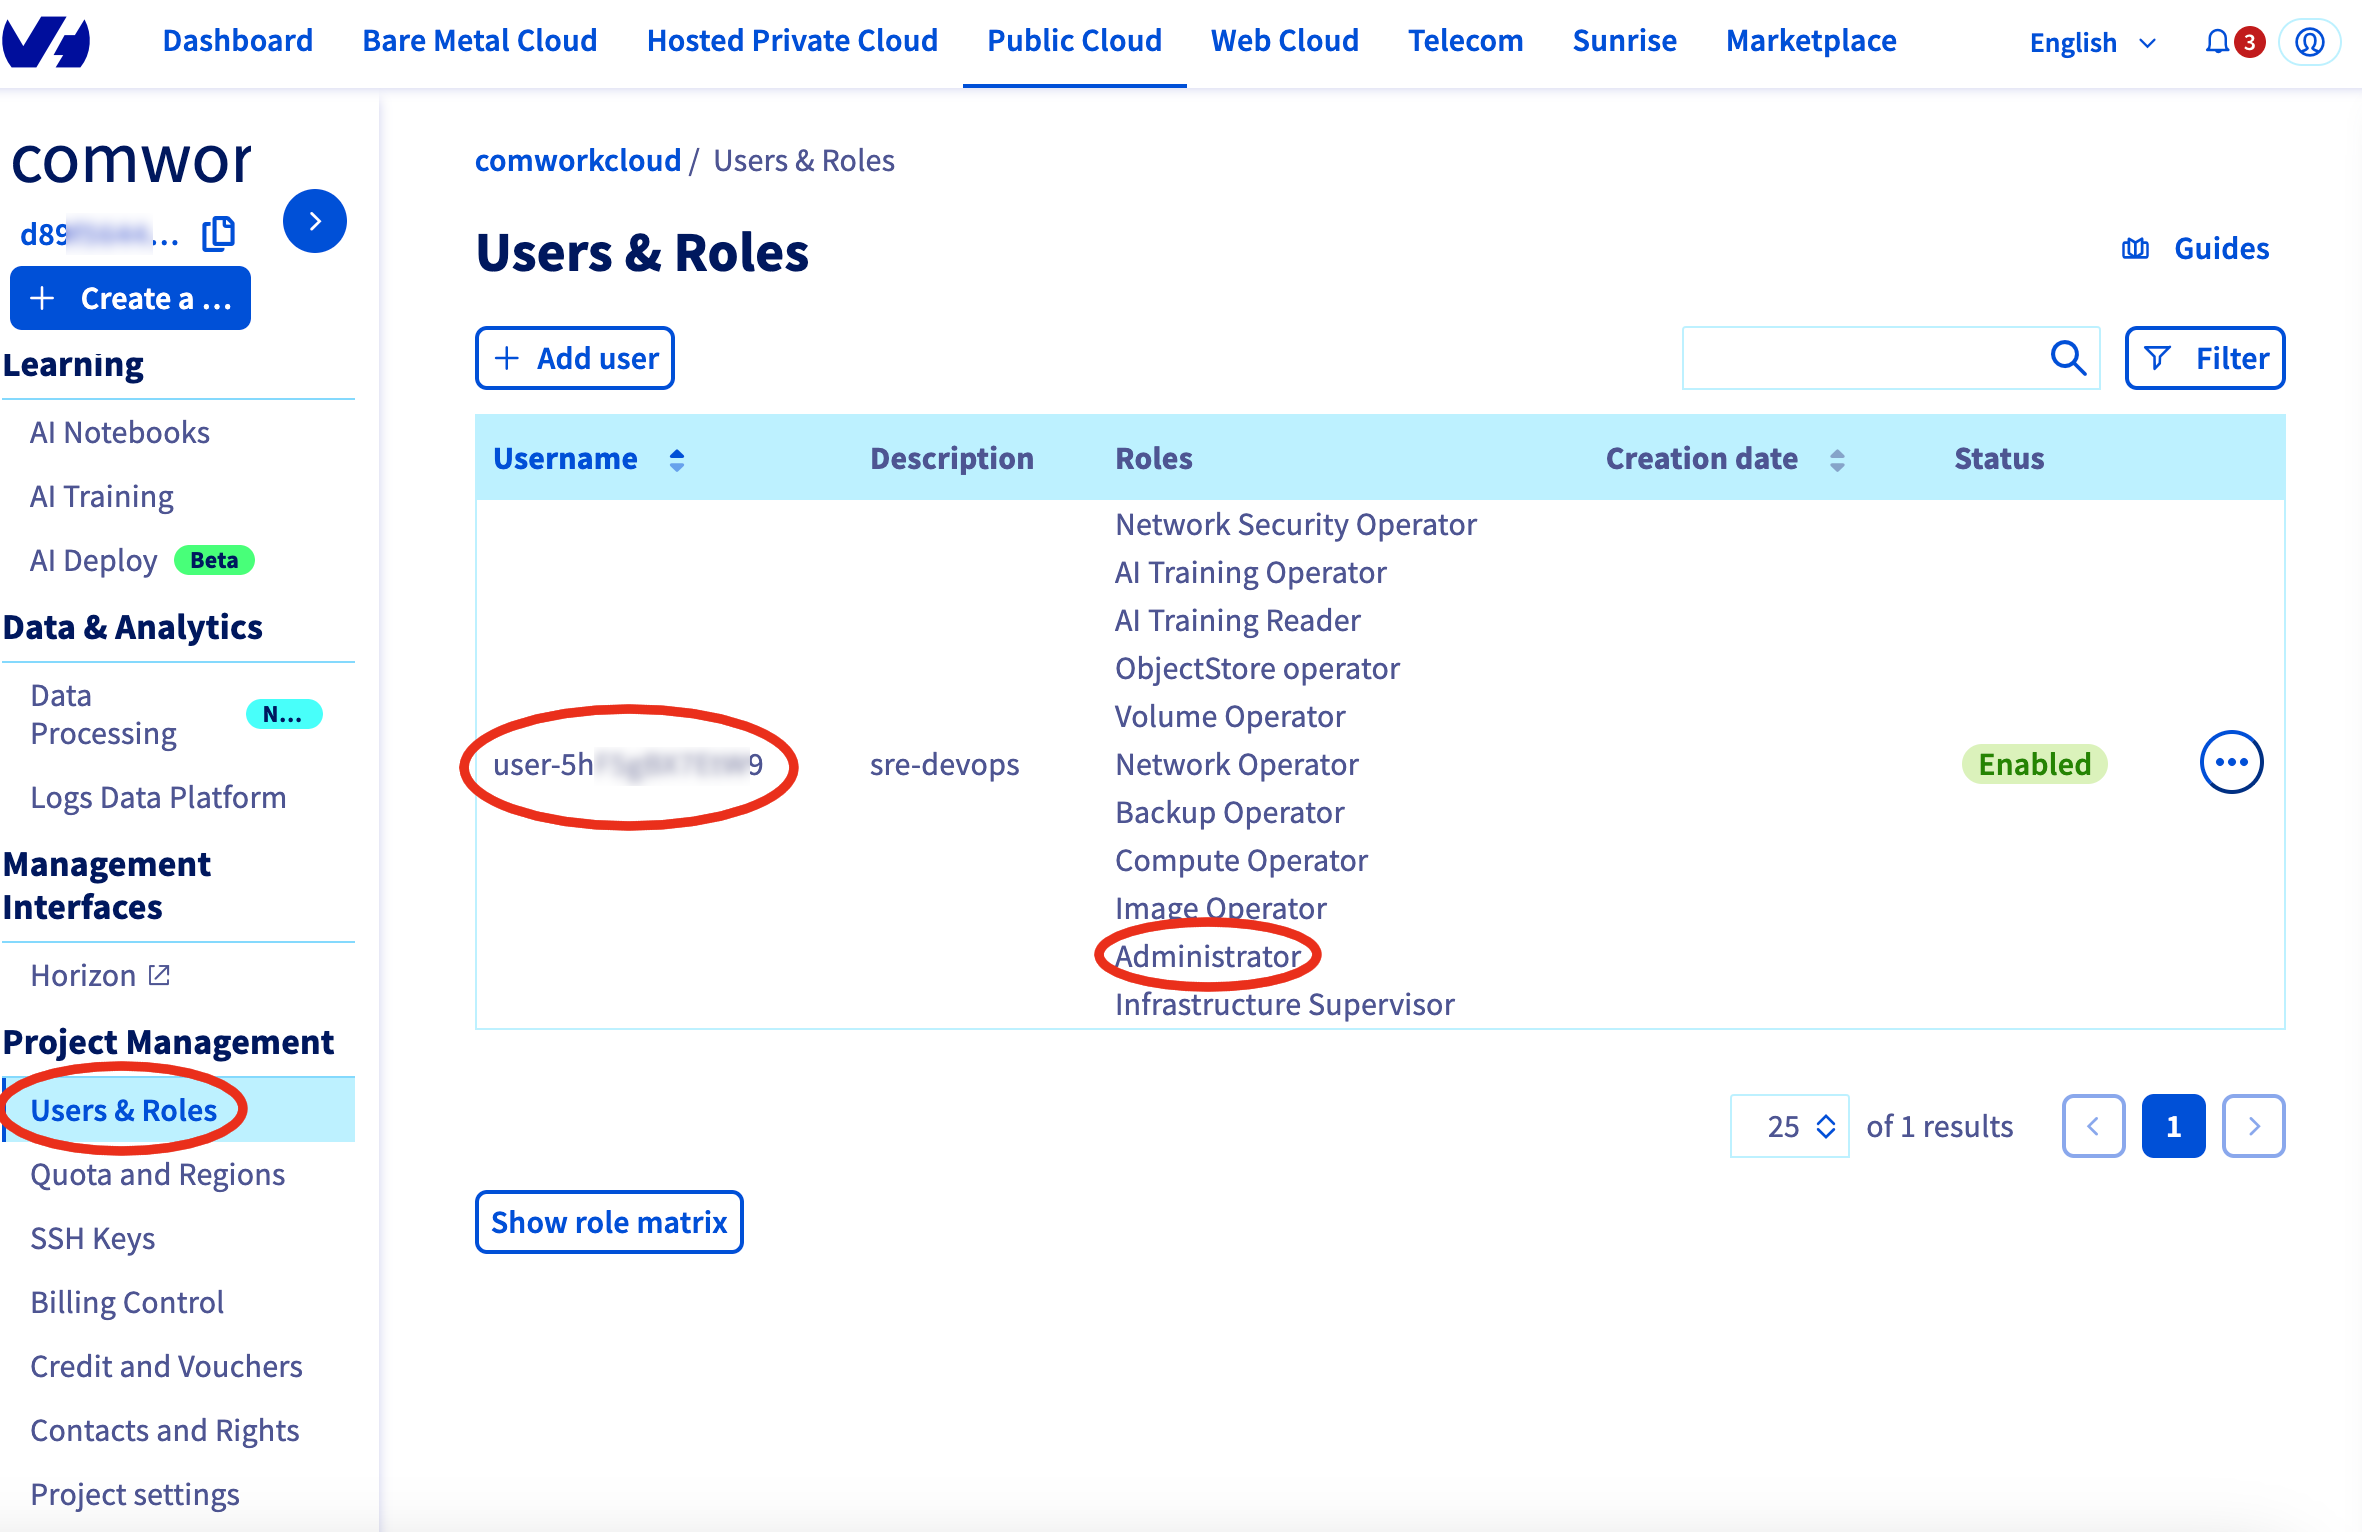

Store the username and password in the following environment variables:
OS_USERNAME="user-5hXXXXXXX9"
OS_PASSWORD="tBXXXXXXXXXXXXXXXXXXXF5"
OpenStack API
You can login in the OpenStack WebUI with the previous credentials: https://horizon.cloud.ovh.net/
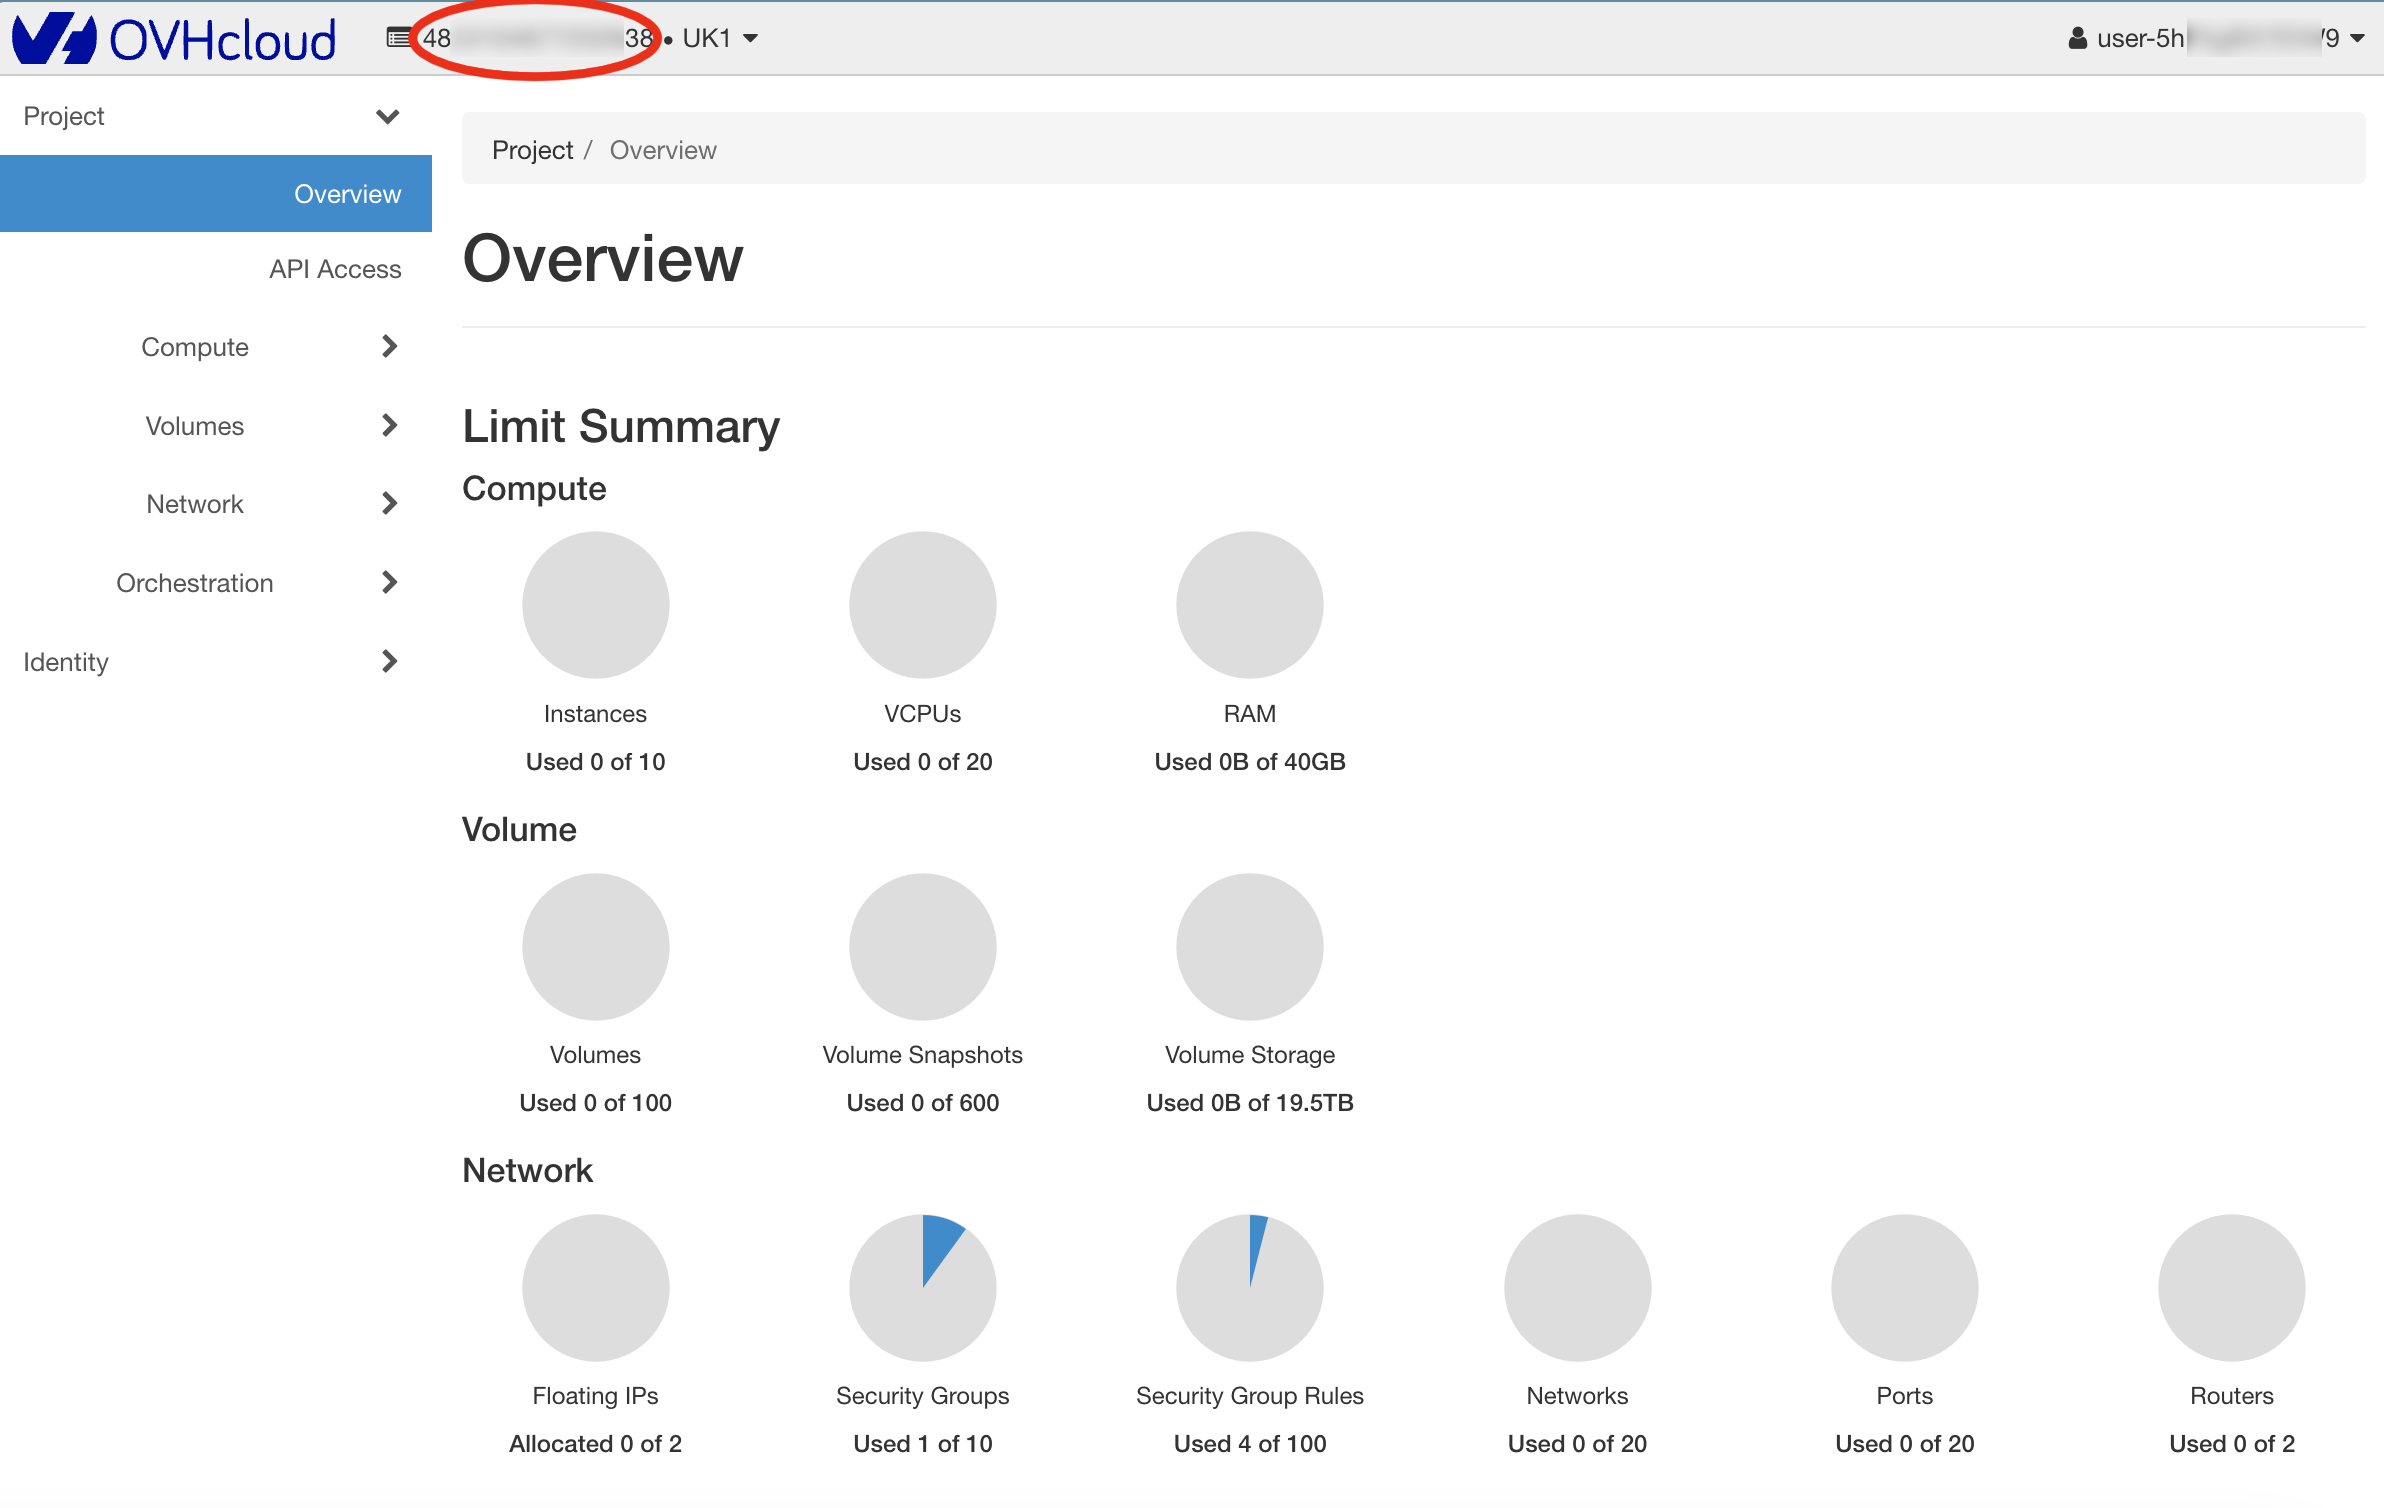
You can fill the following variable with the red-underlined values (the "tenant"):
OS_TENANT_NAME="48XXXXXXXX38"
CaCloud API
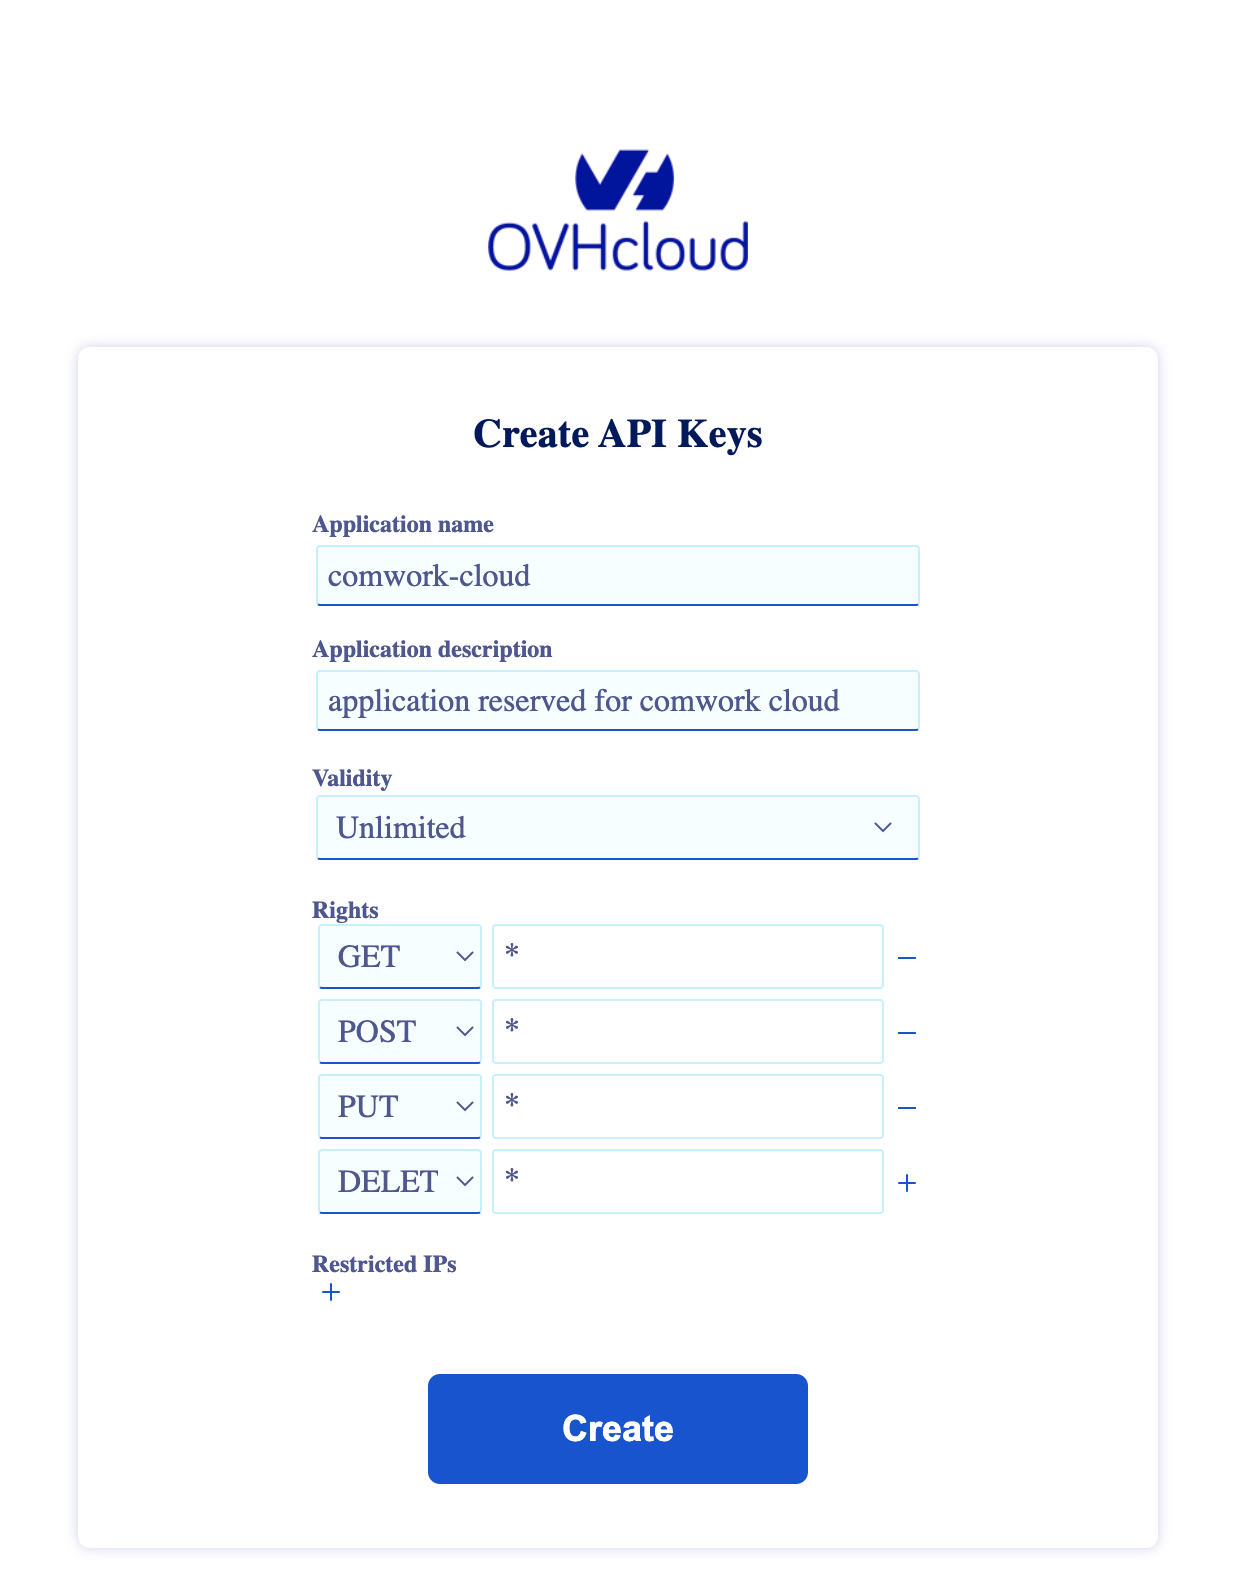
In order to create a token, go there: https://www.ovh.com/auth/api/createToken
Beware on the following details:
- We have to put
*with all the HTTP methods (GET/PUT/POST/DELETE). Click on+if there's one http verb missing one by one. - Unlimited for the duration
As we can see on the following screenshot:
Once it's done, keep the following values:
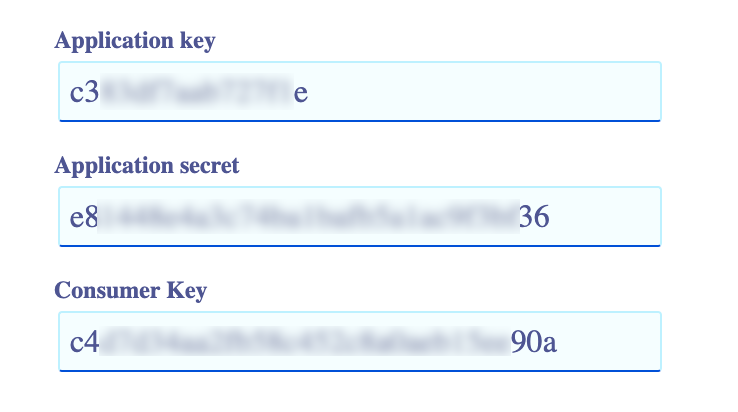
And write them into those environment variables:
OVH_APPLICATION_KEY="c3XXXXXXXXXXe"
OVH_APPLICATION_SECRET="e8XXXXXXXXXXX36"
OVH_CONSUMER_KEY="c4XXXXXXXXXX90a"
Create a DNS zone
We simply have to buy a new domain name which will be dynamically managed by CWCloud and that its DNZ zones must not be managed by another service or process.
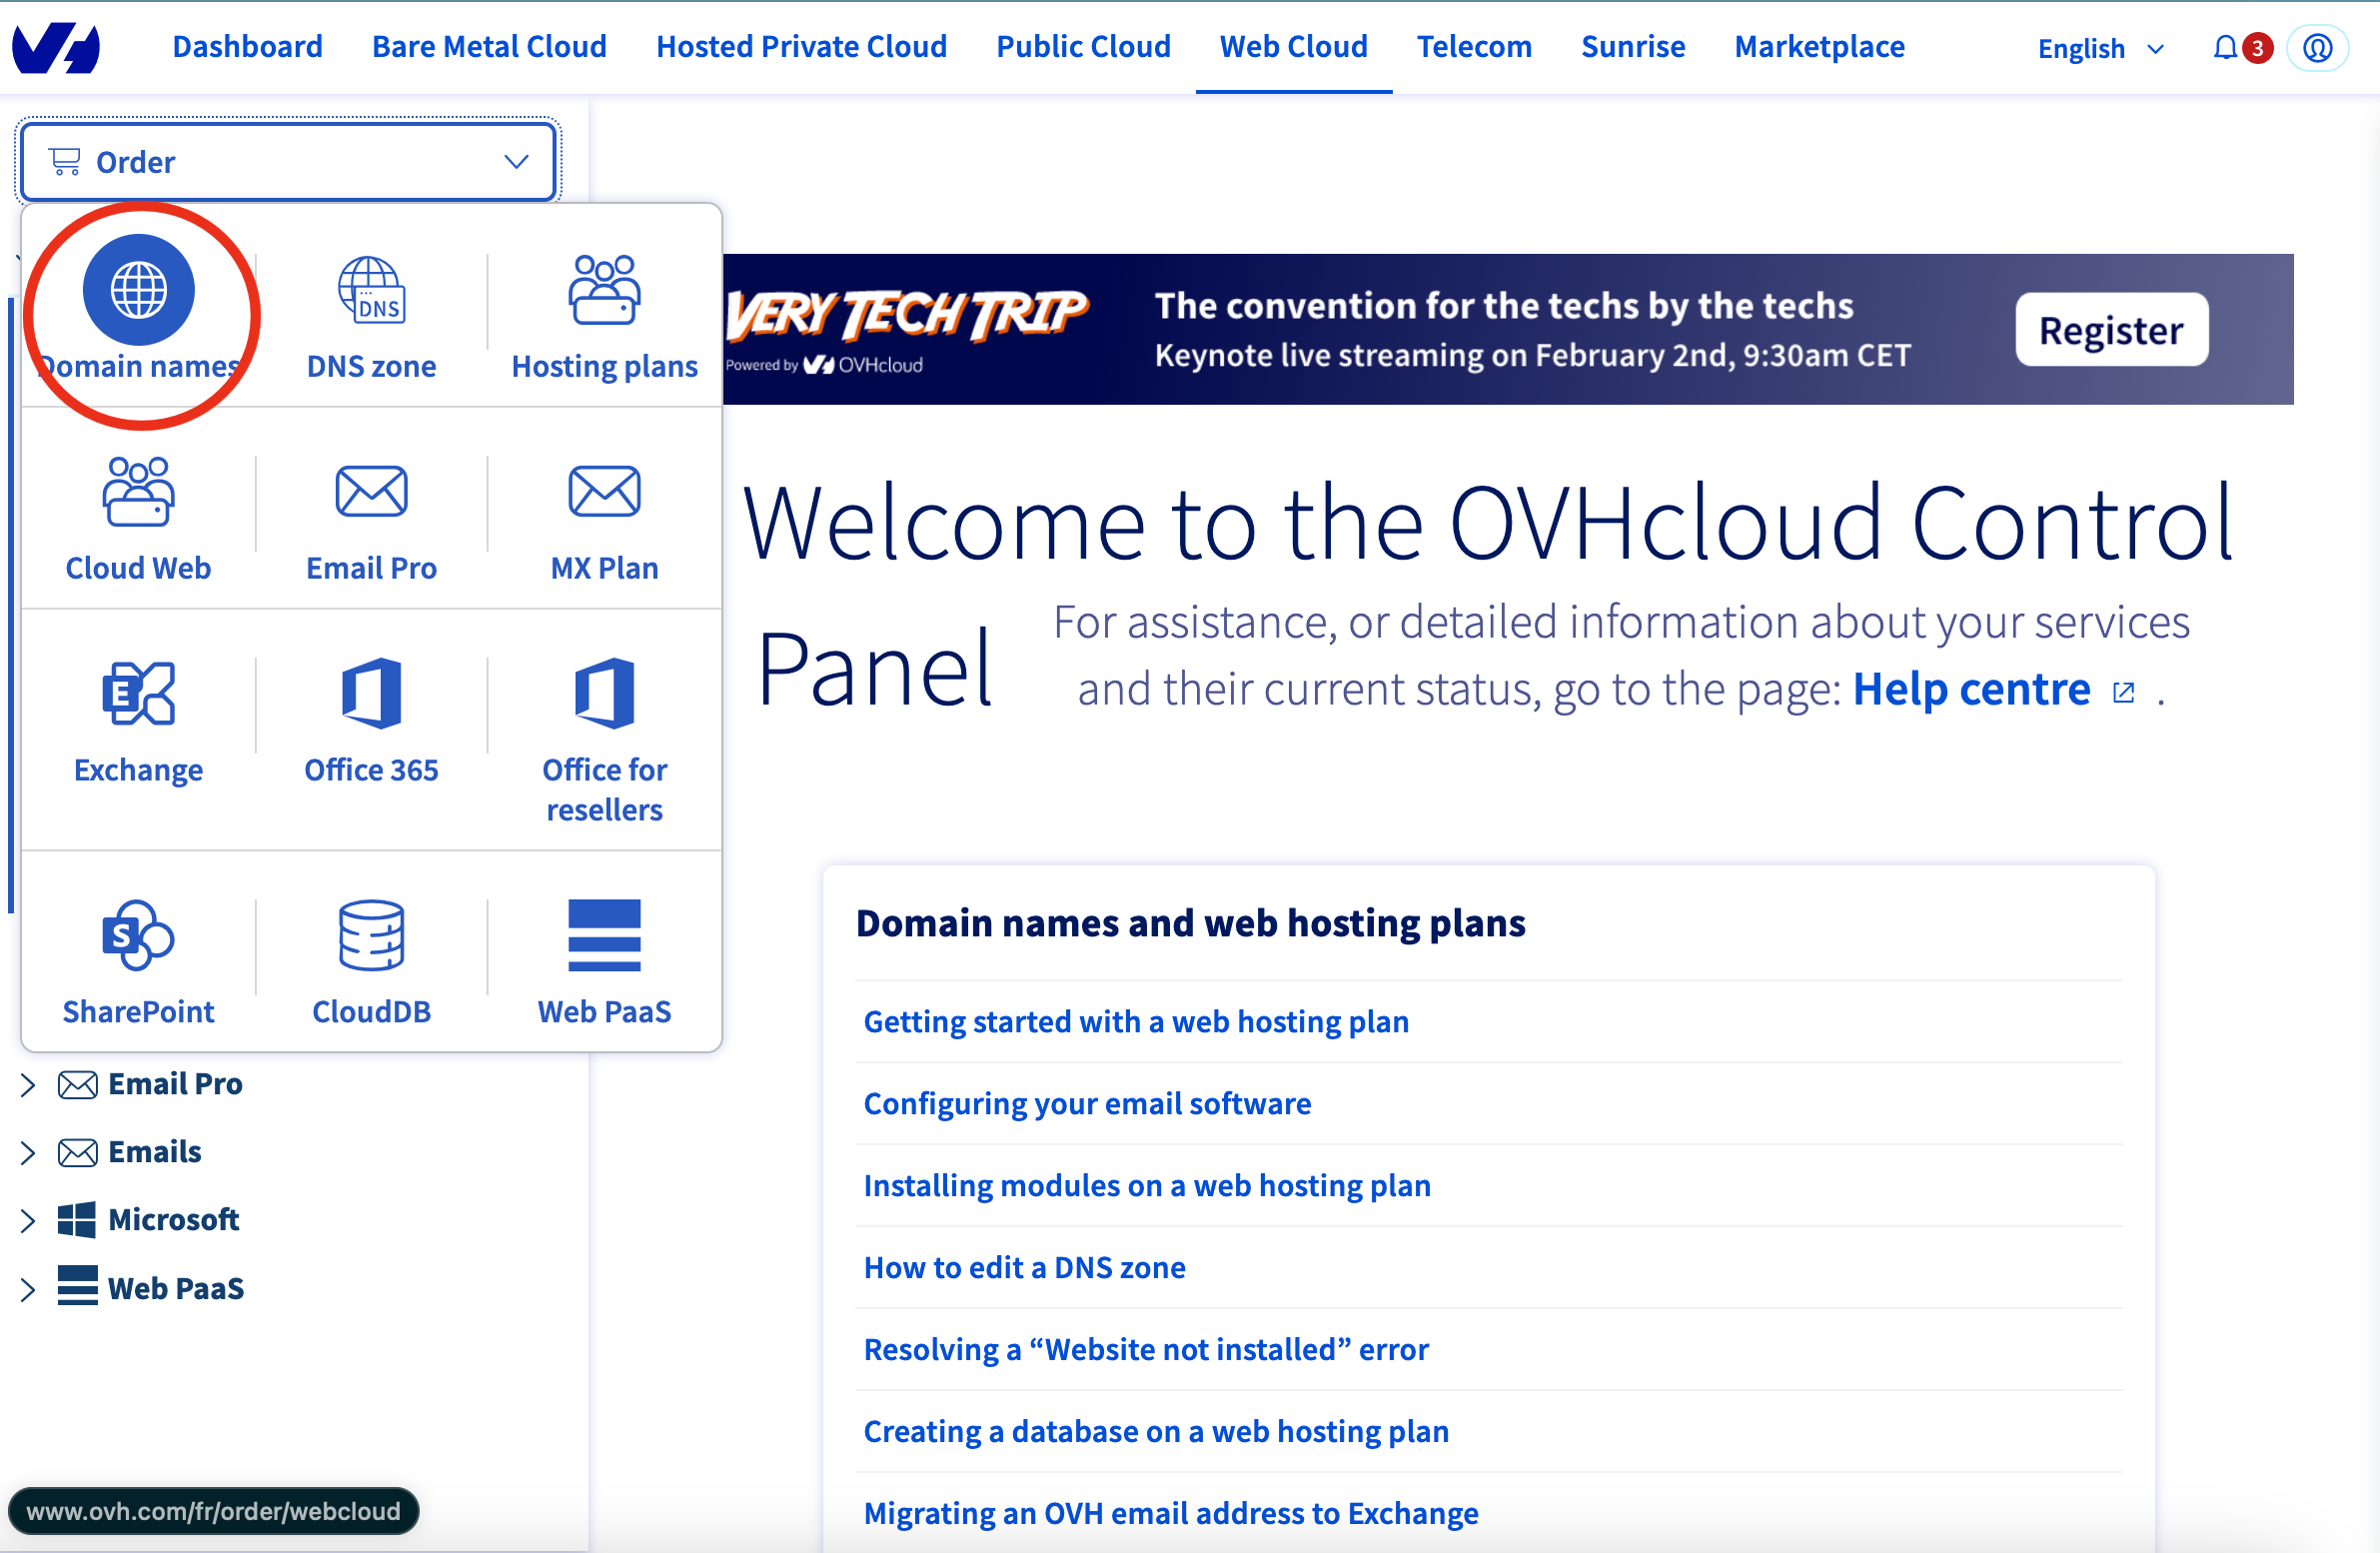
Once we created the first instance which will host CWCloud with a public IP, we'll have to add a DNS A record with this public IP, i.e: cwcloud.xxxxx.com.
Golden images with packer and ansible
You'll have to create image that are container git and ansible to accelerate the deployments.
In order to achieve this, follow this repository: https://gitlab.comwork.io/oss/cwc/golden-images-ovh