Configuring cloudflare
Translations
This tutorial is also available in the following languages:
Configuration
- Add a new site on cloudflare console:
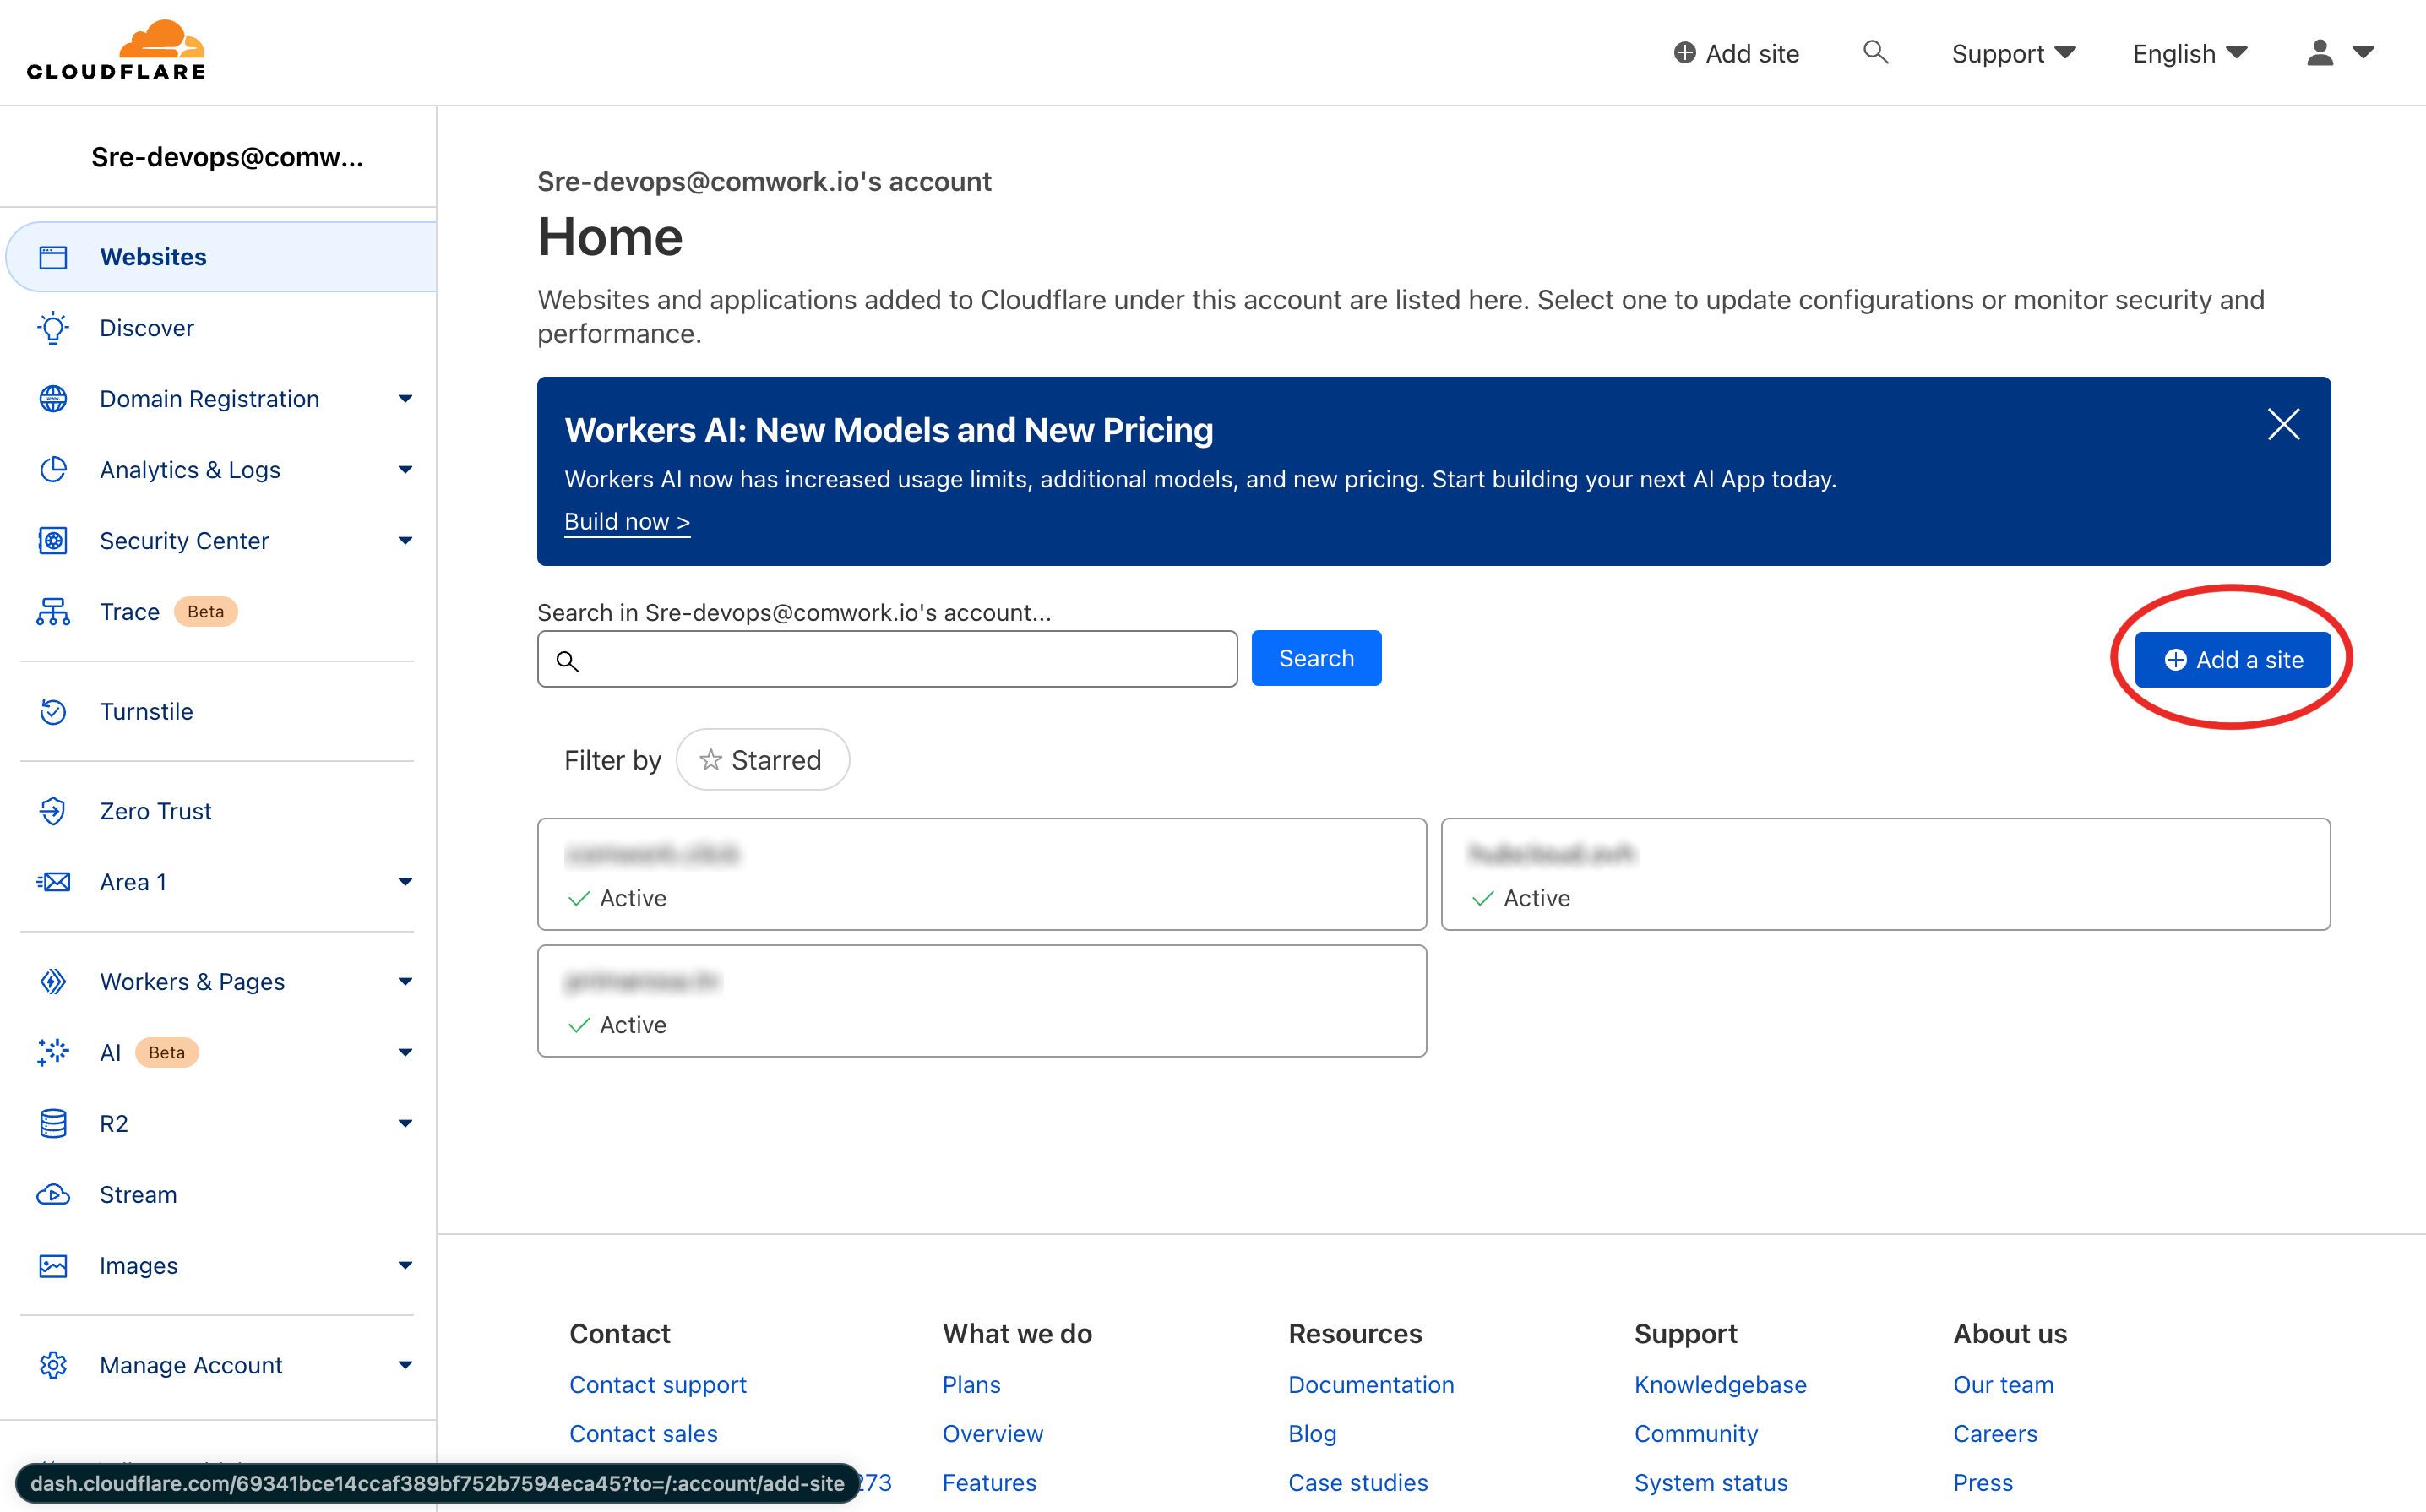
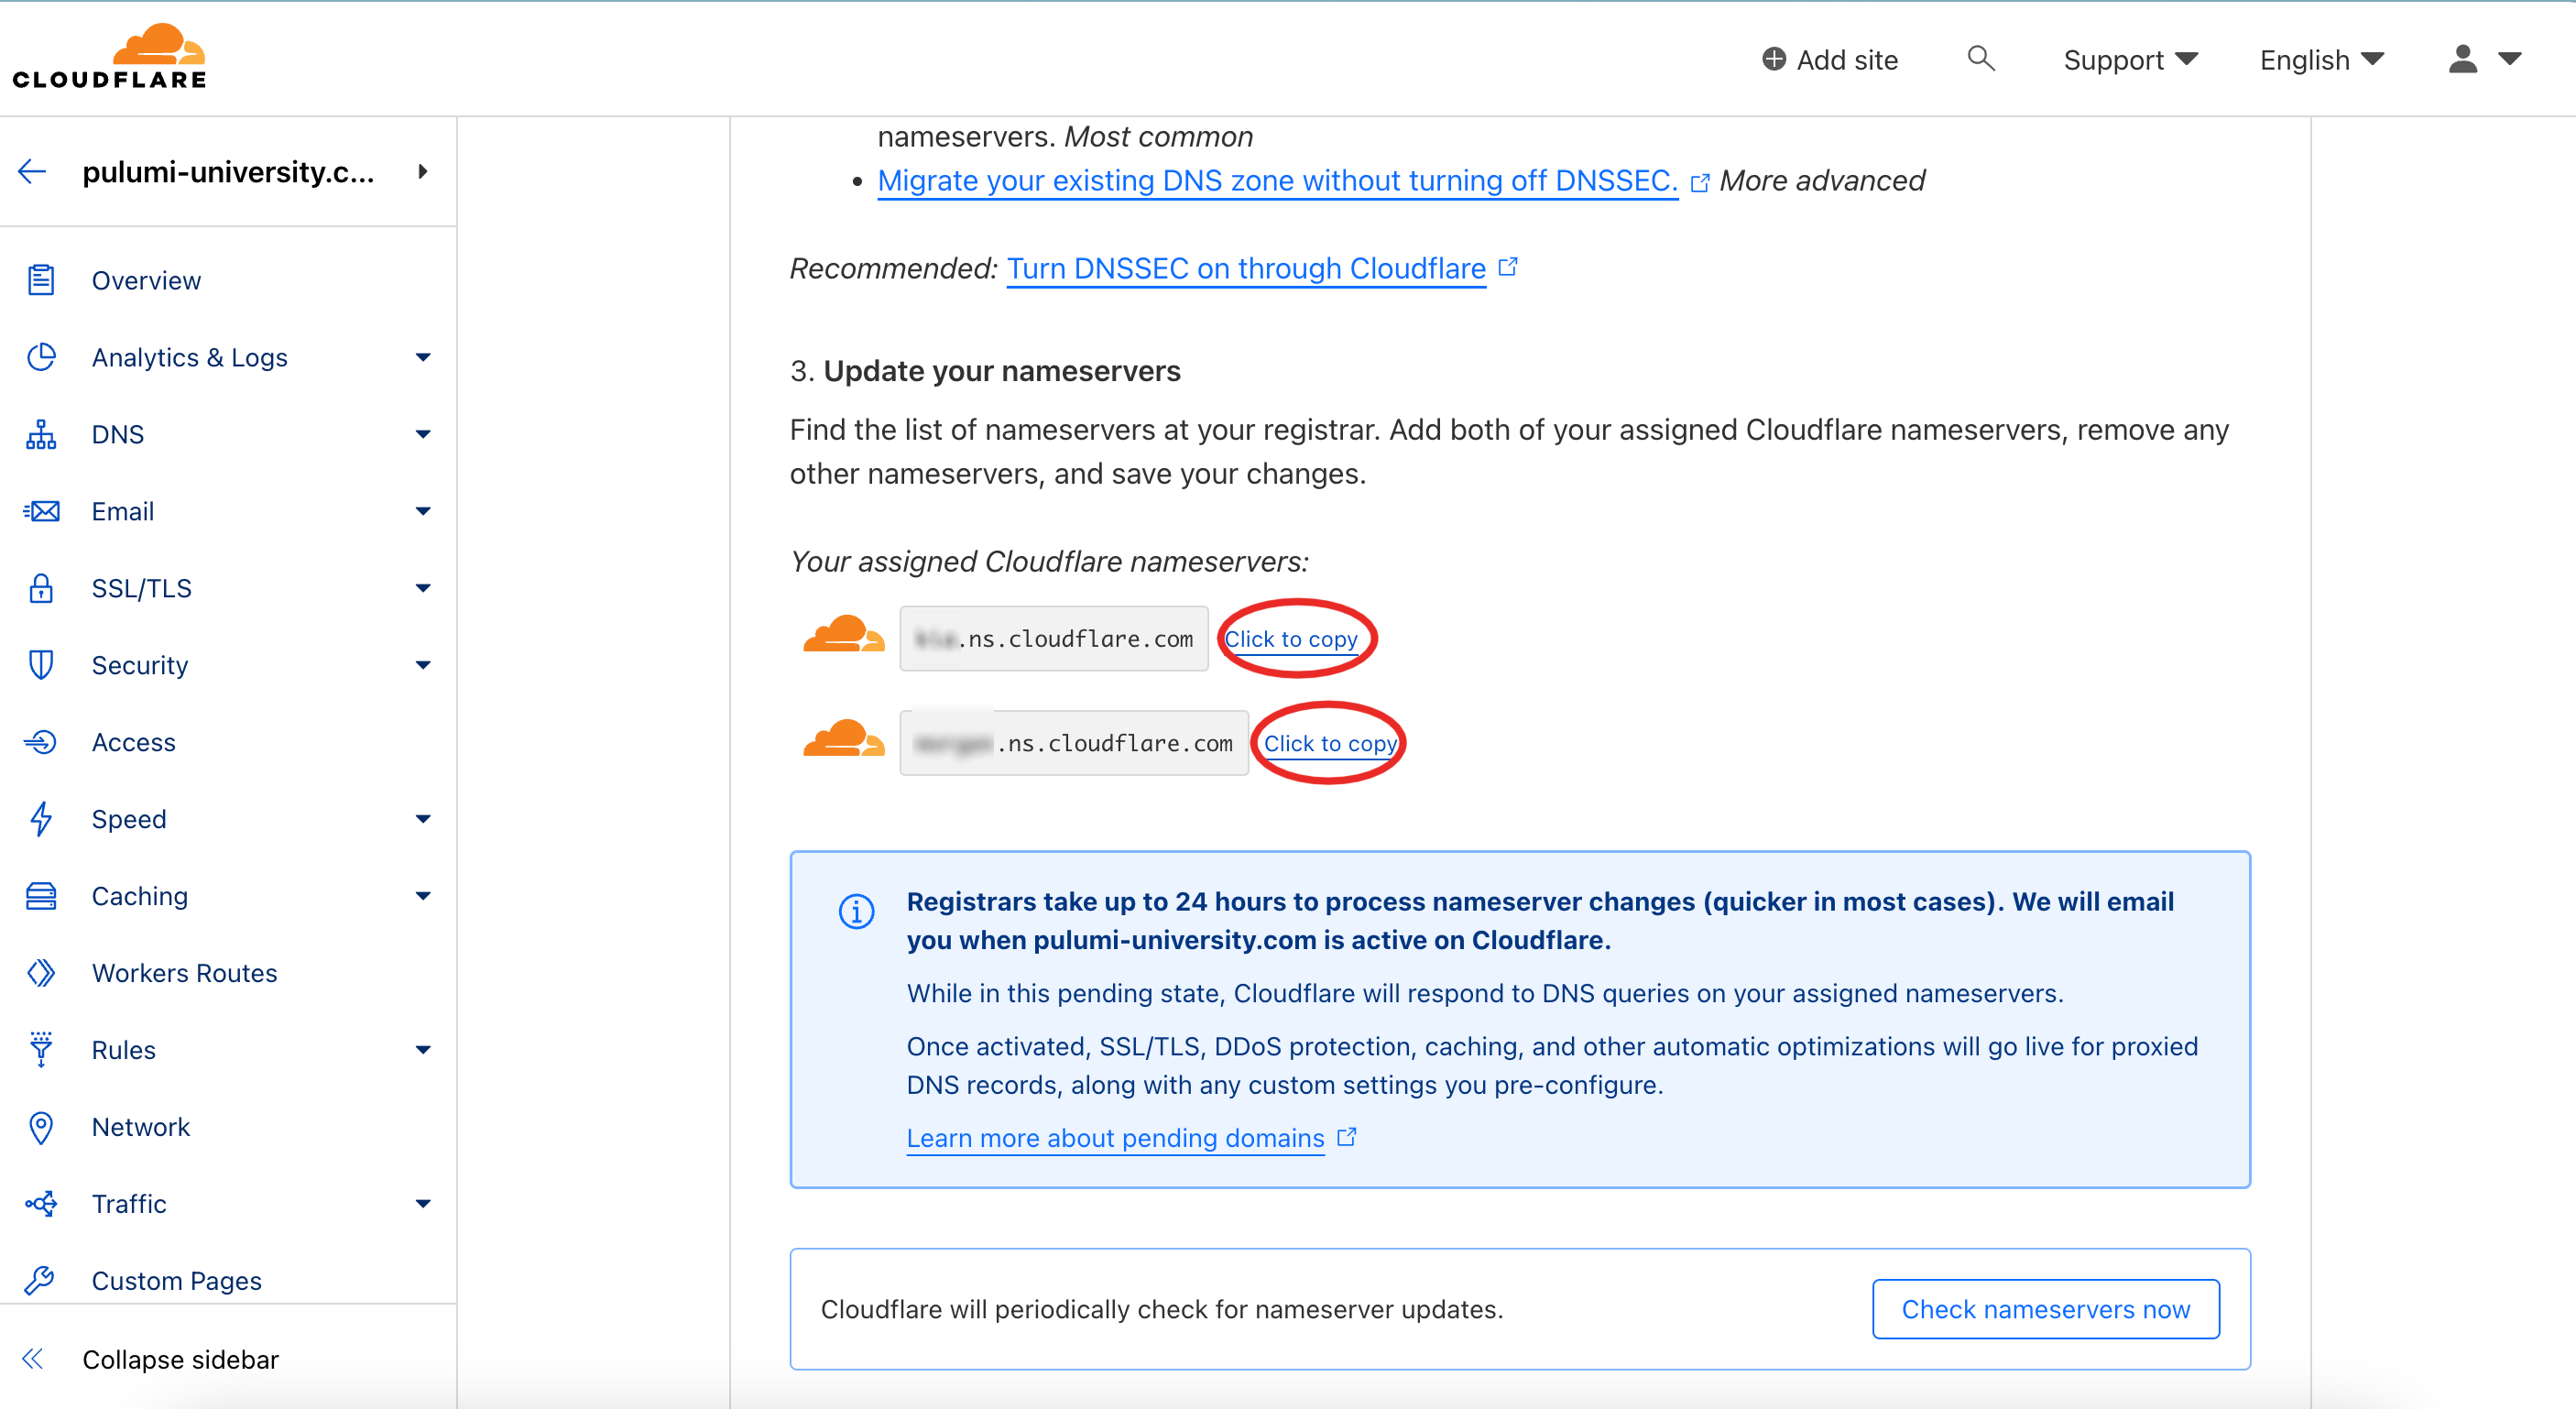
- Register your domain name with the Free Plan, then copy the DNS servers:
- Update the DNS server of your domain name, example with OVH:
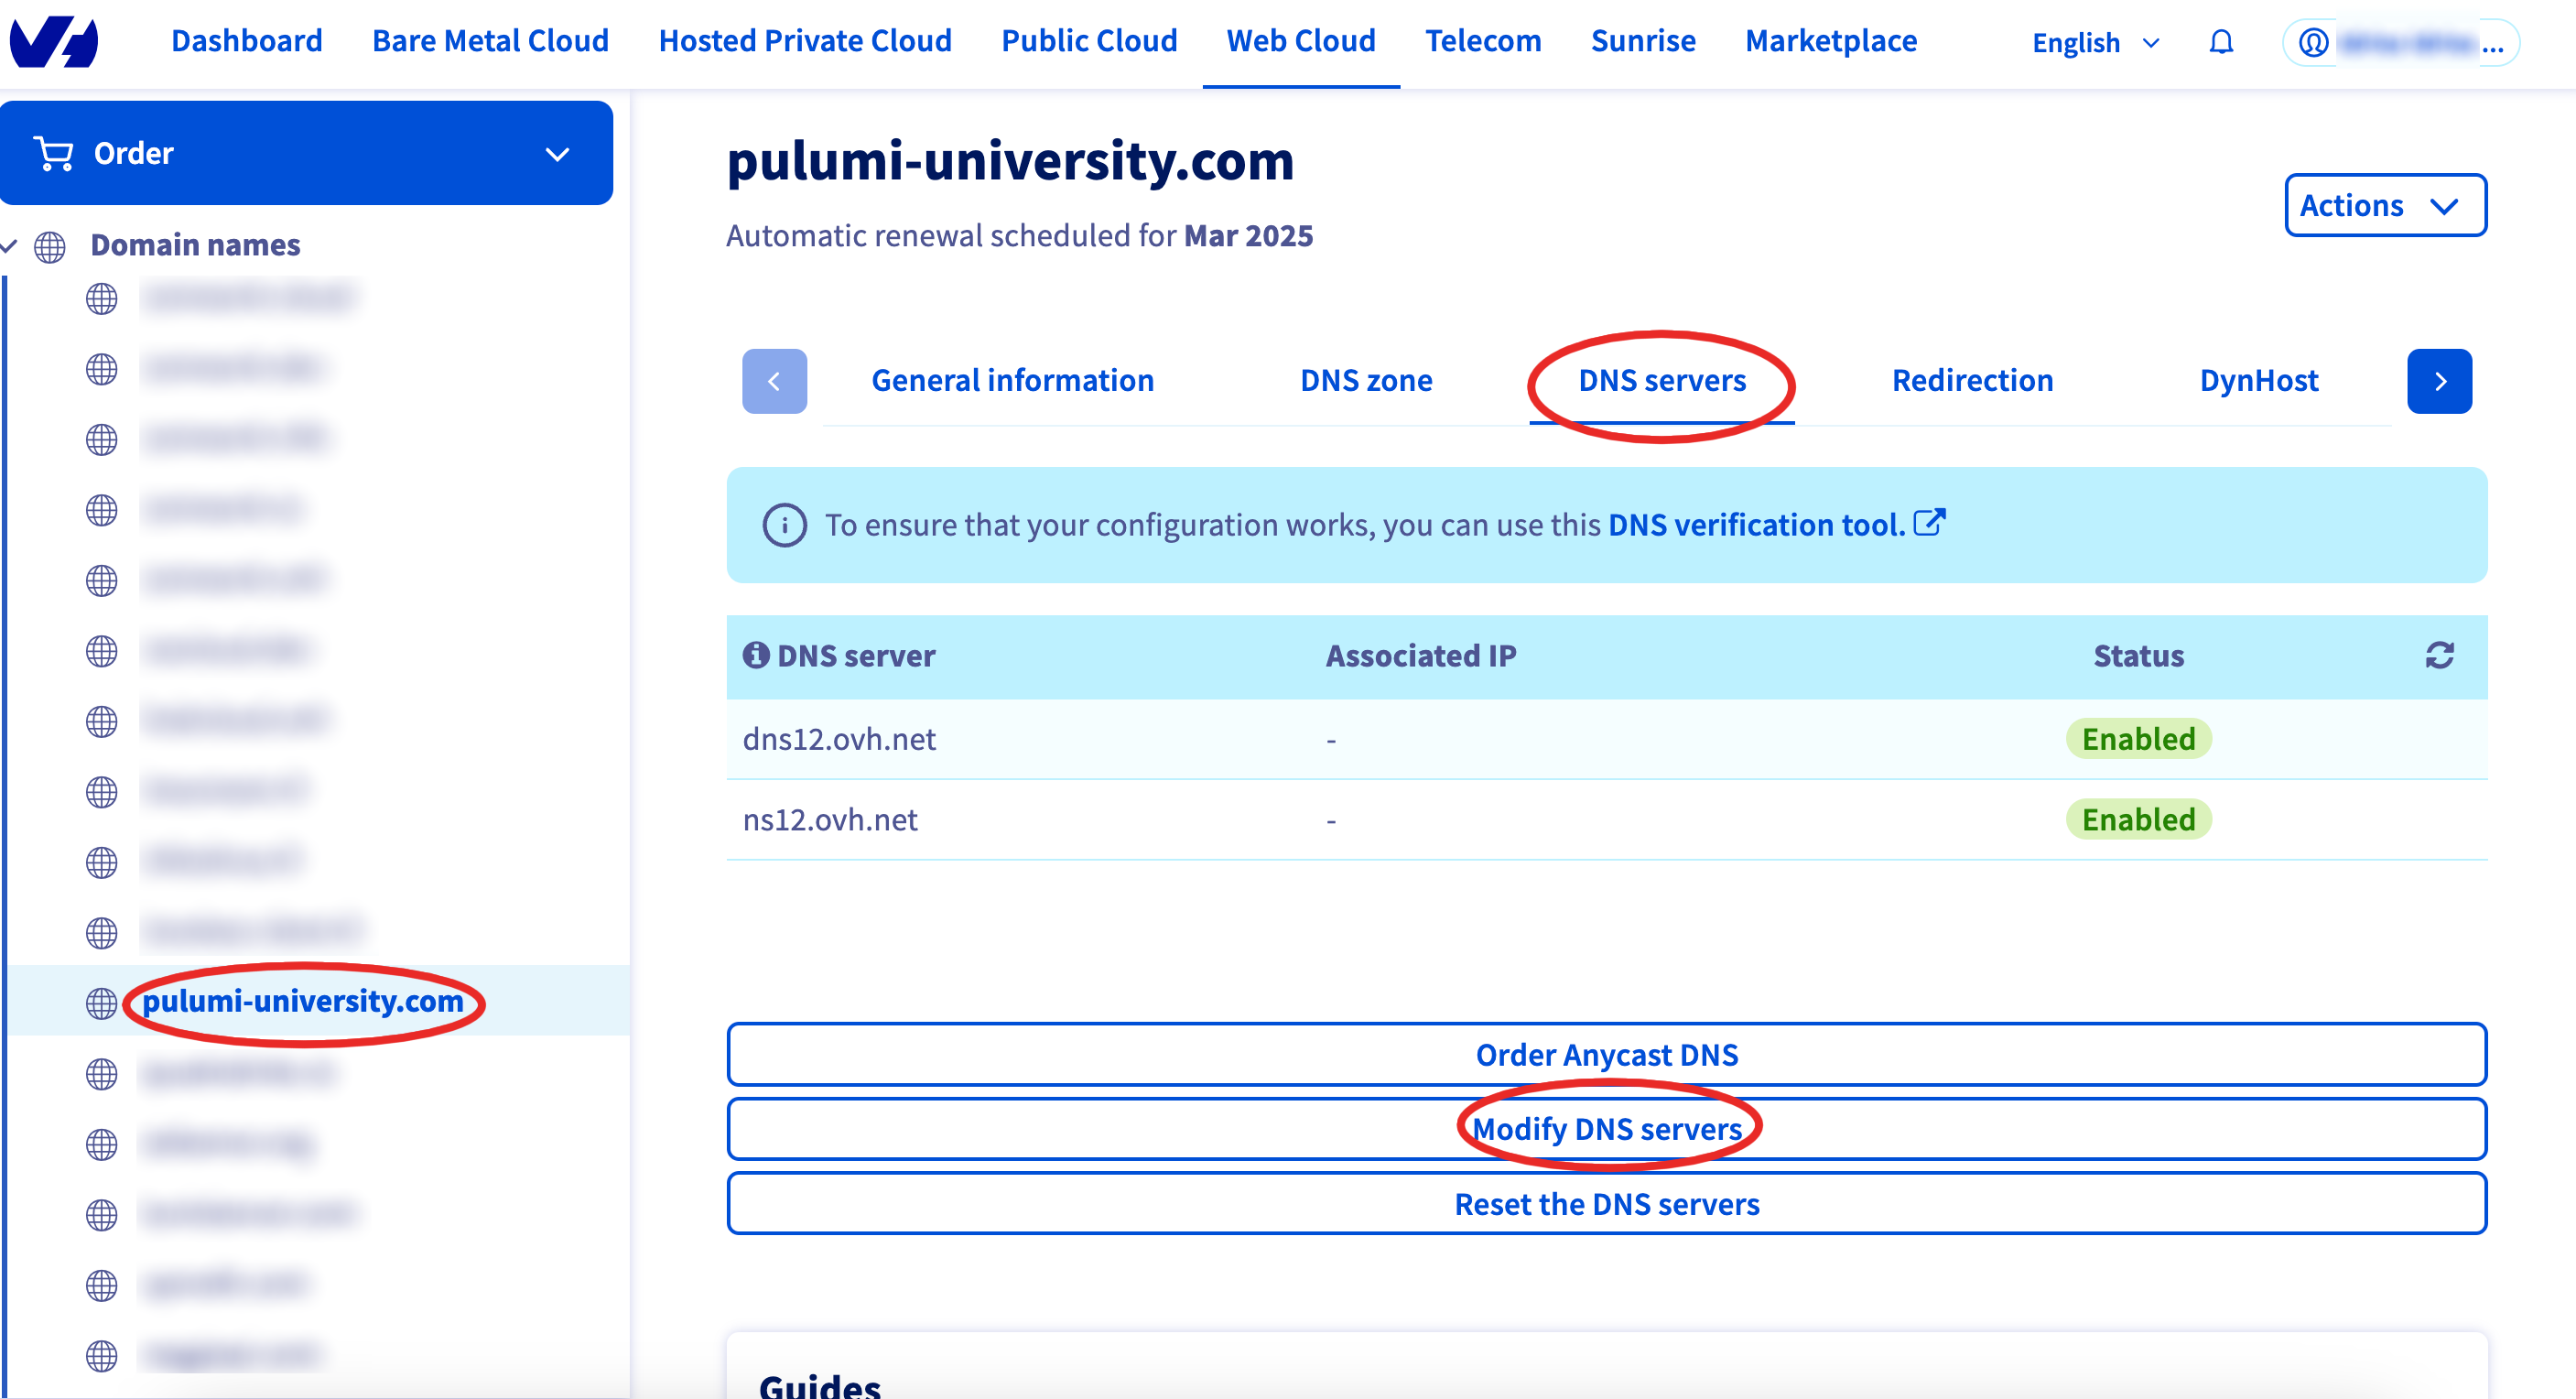
Replace here the servers dns12.ovh.net and ns12.ovh.net by the cloudflare's you copied before.
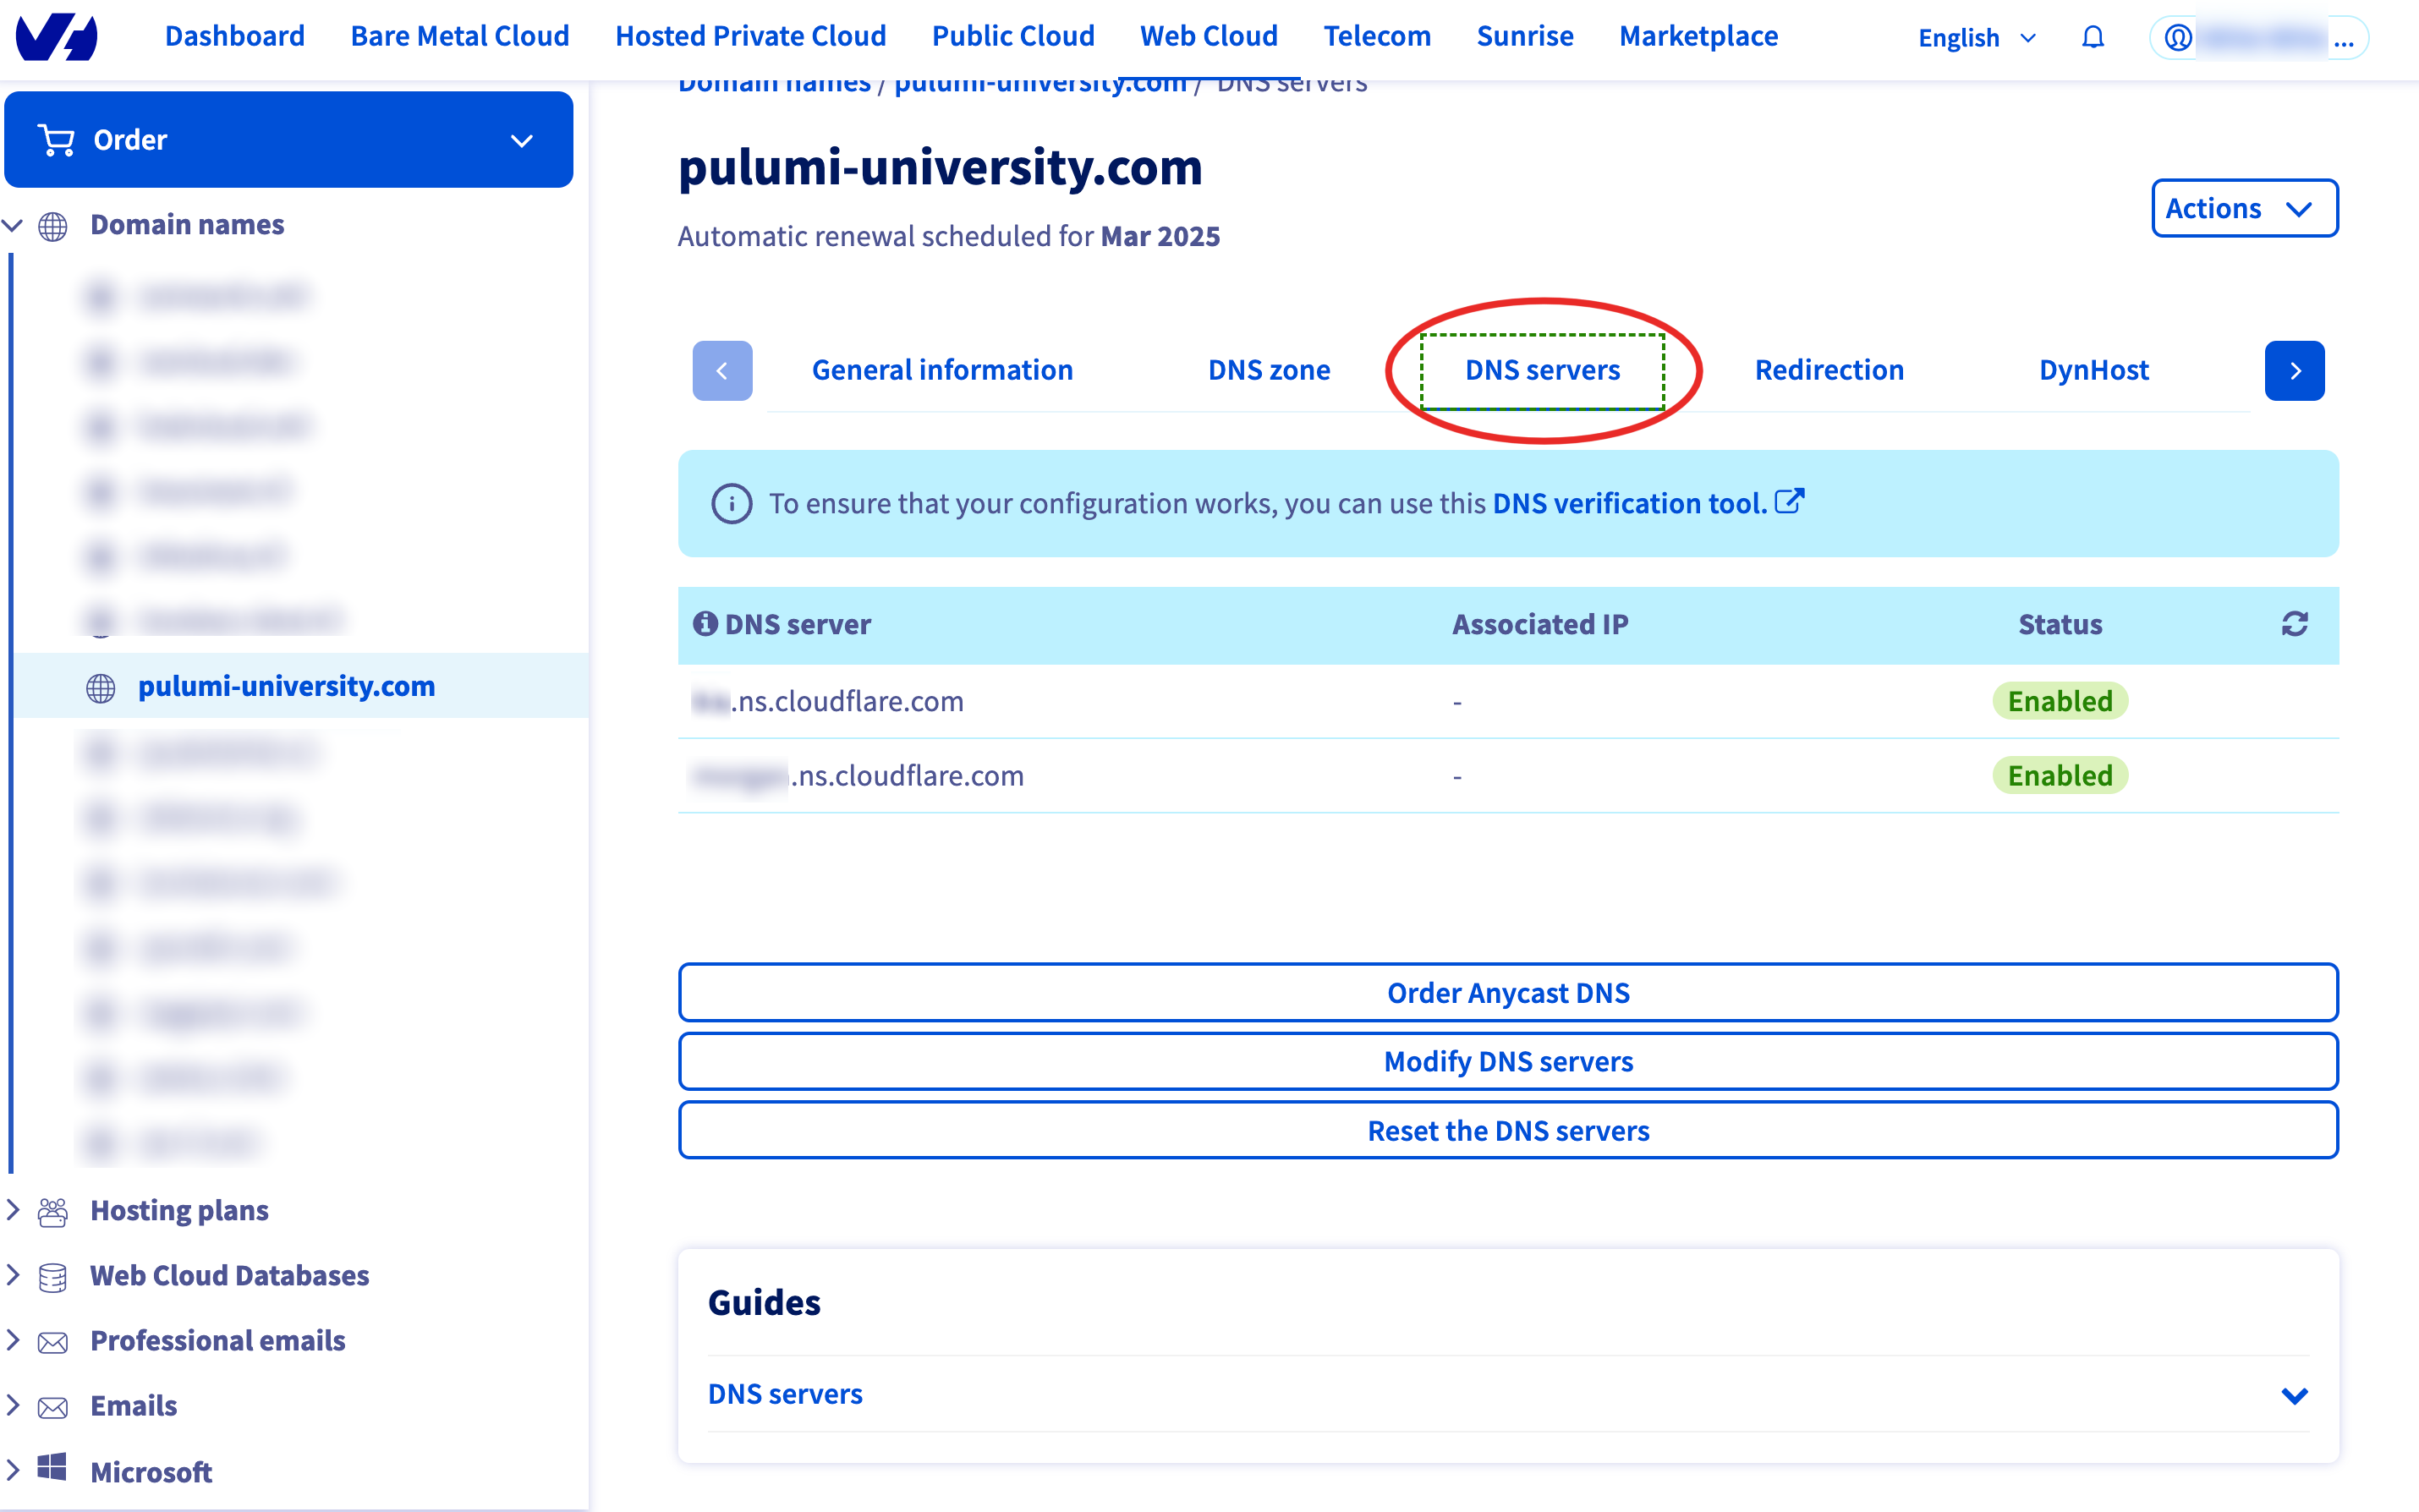
Wait a little bit (it might took 24h), the DNS servers should appears up to date like this:
- Go create an API token for your selfhosted cwcloud instance:
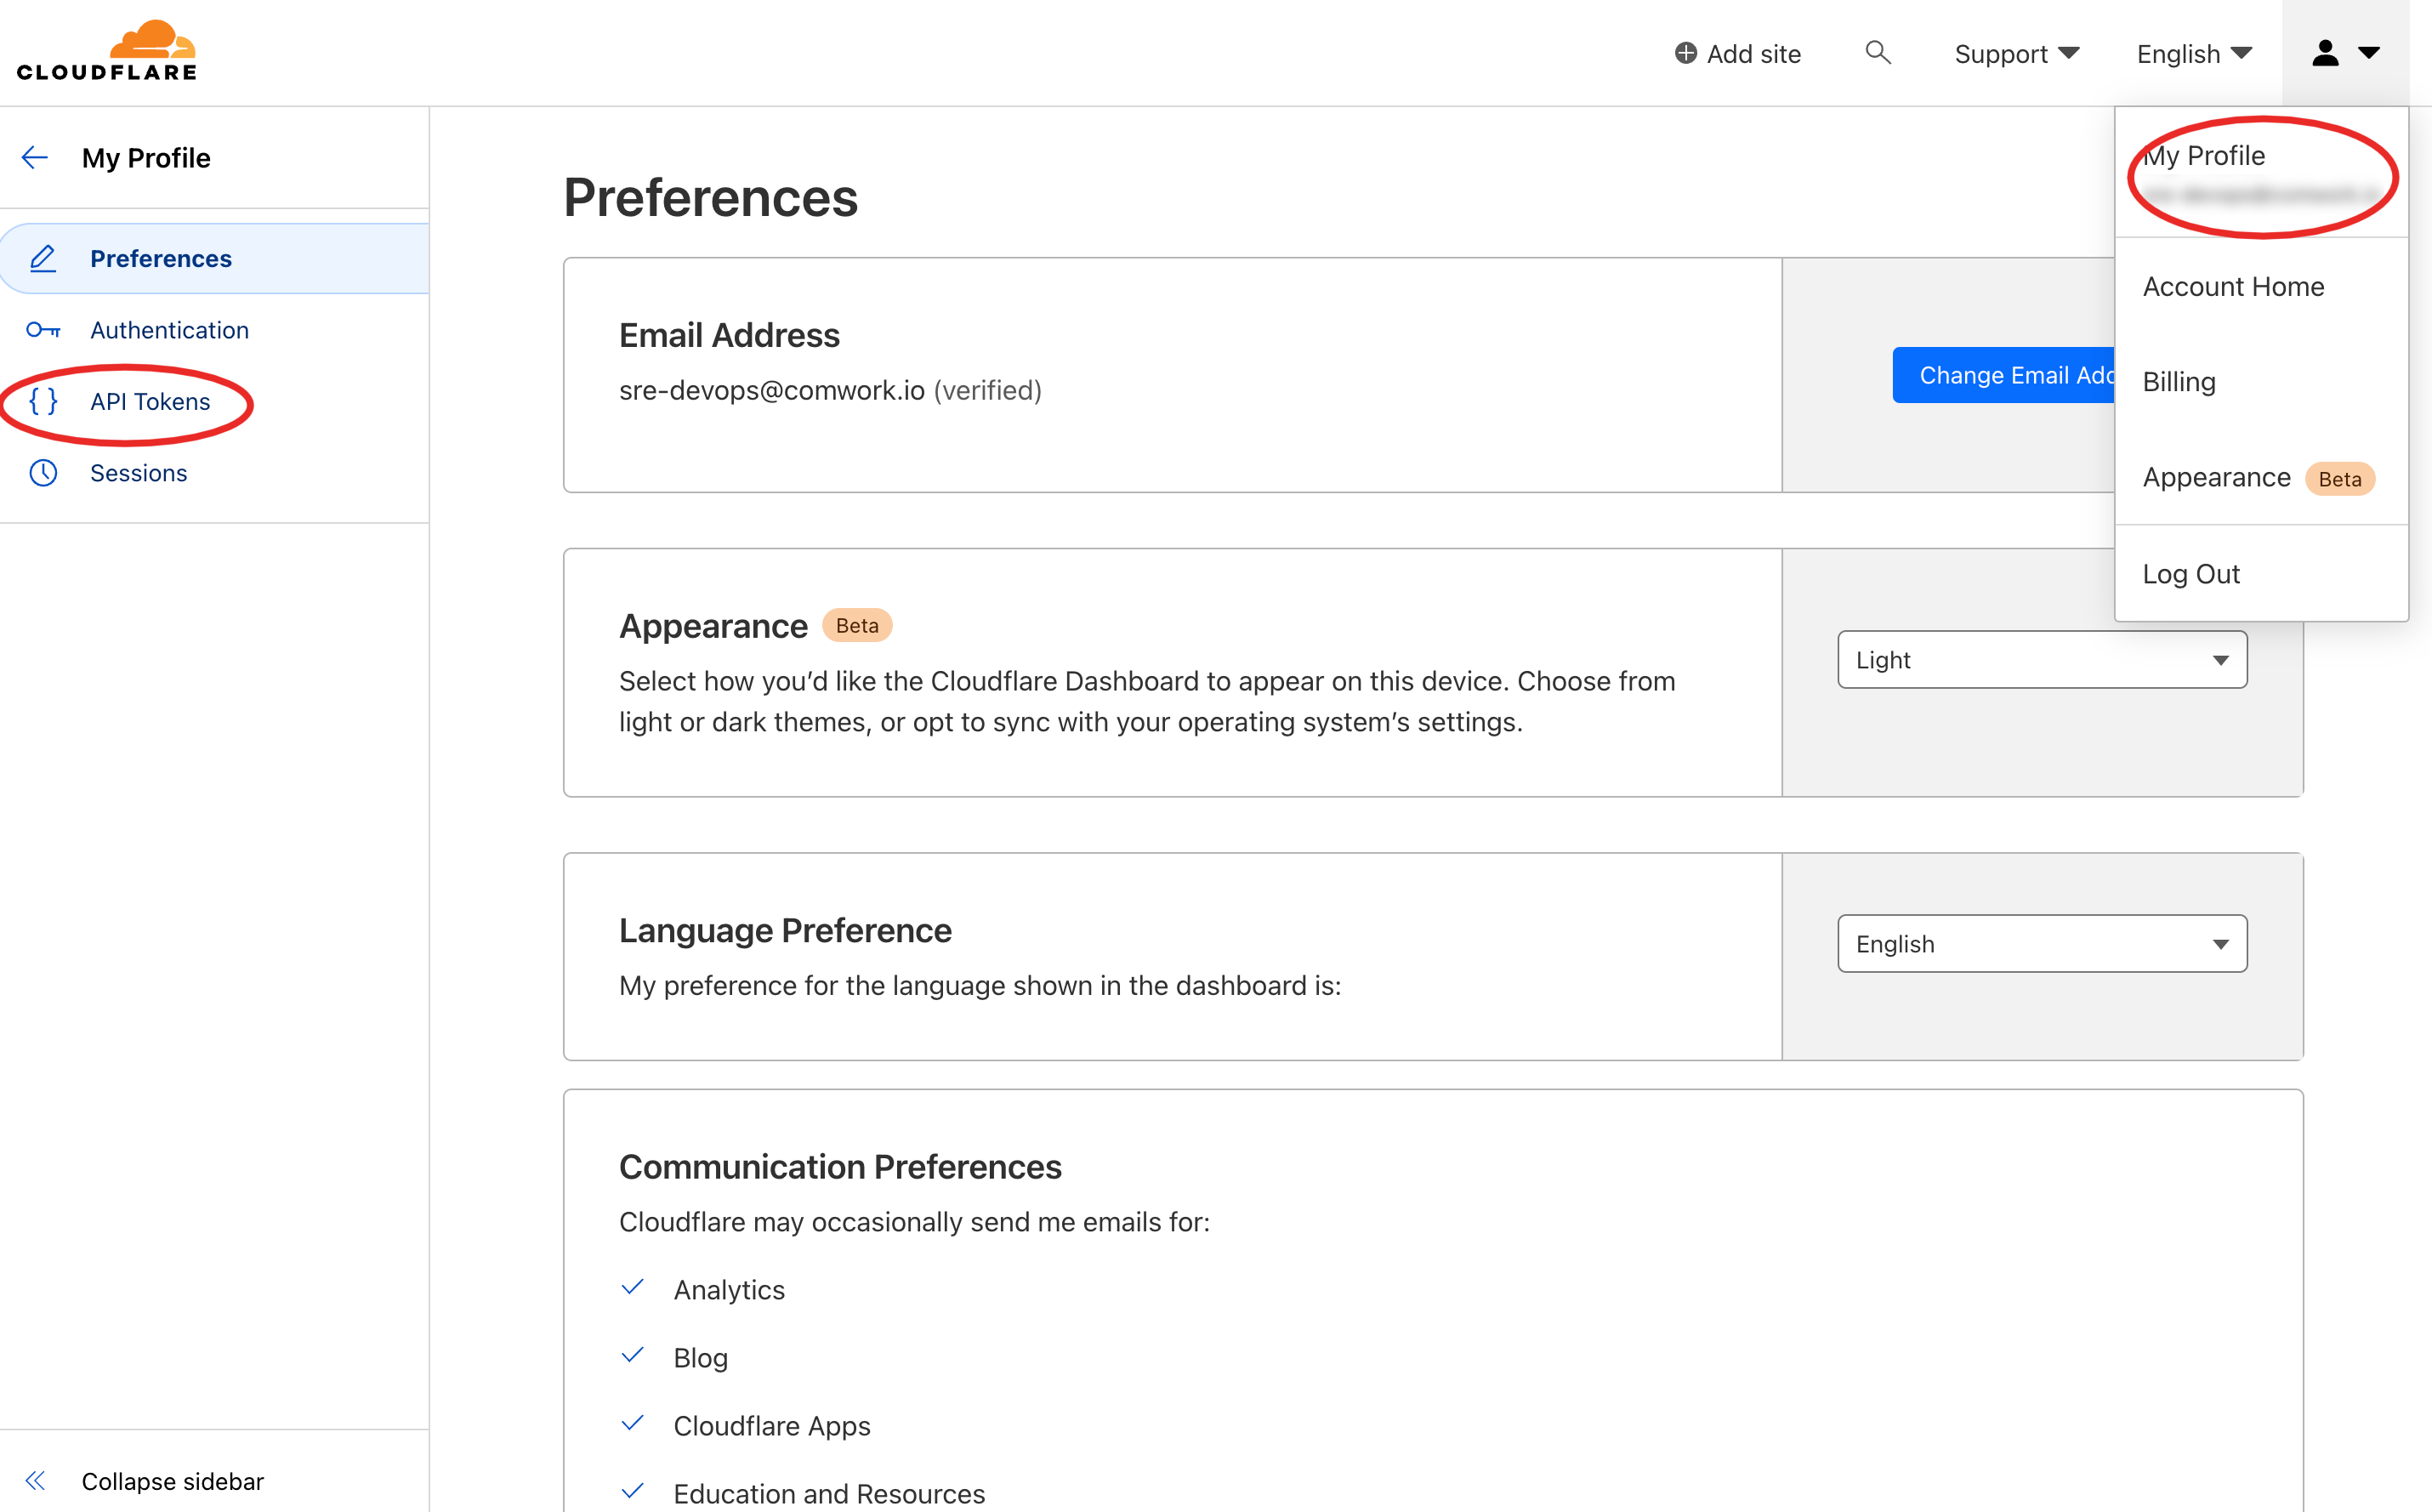
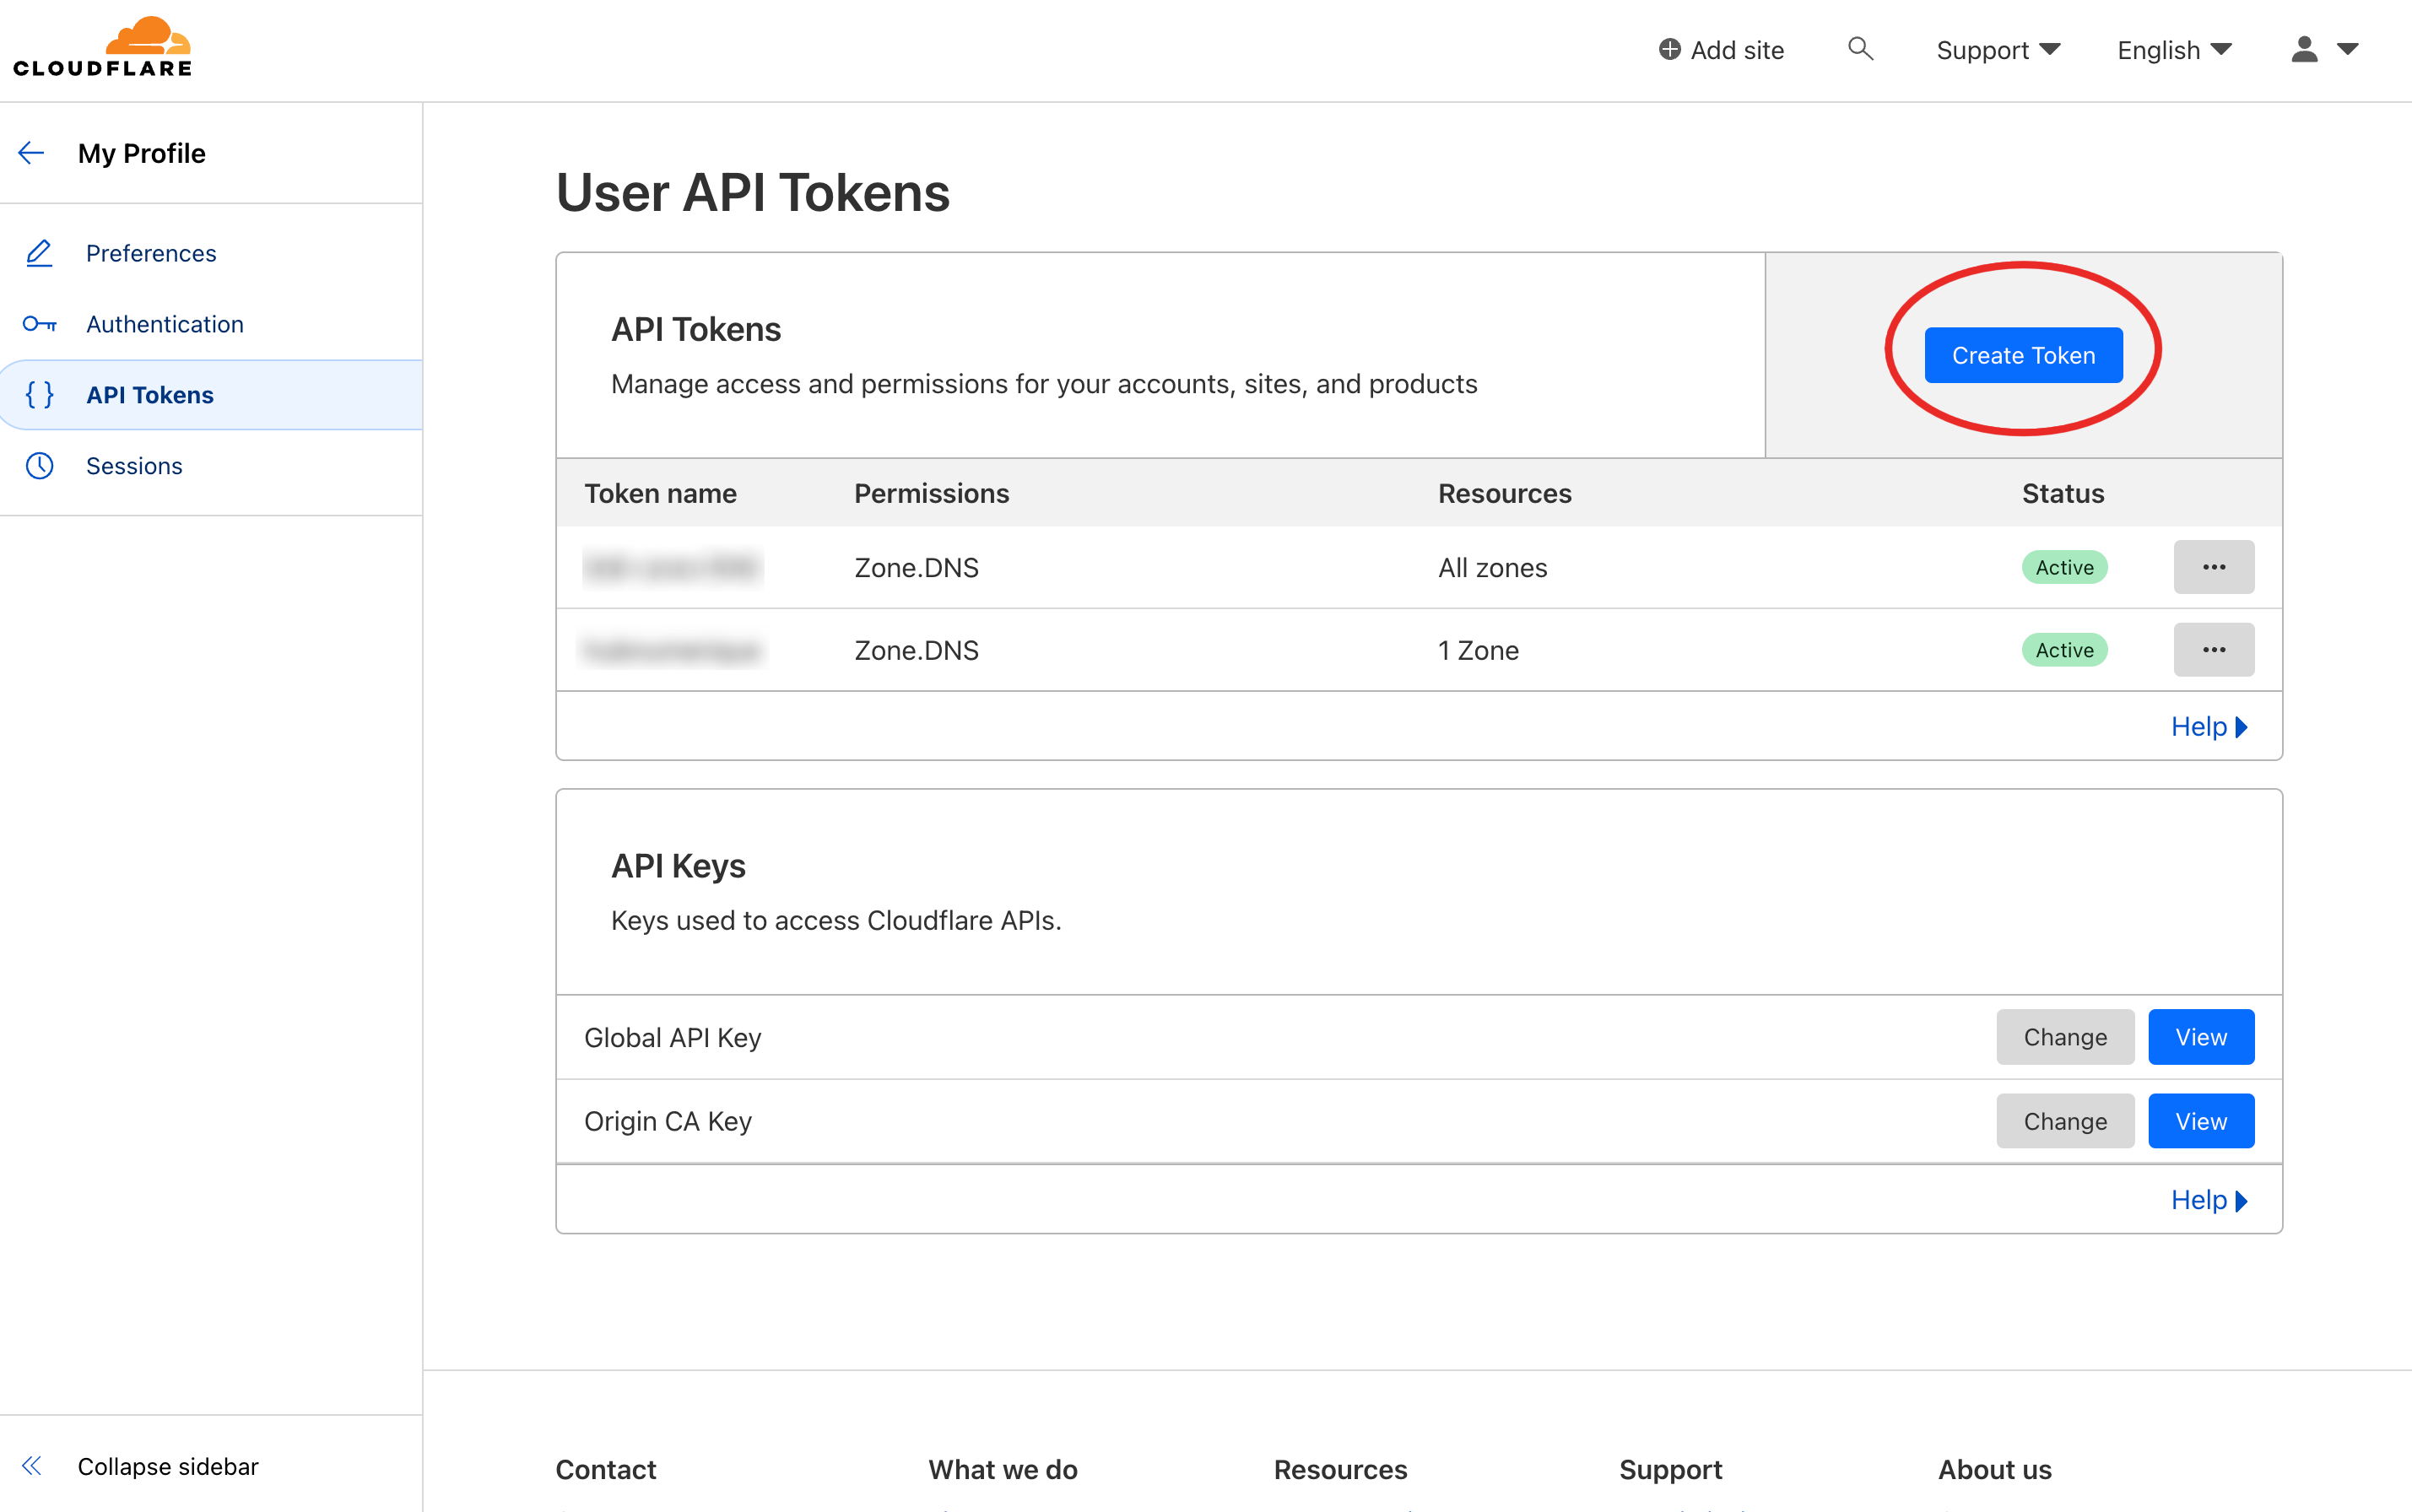
Then:
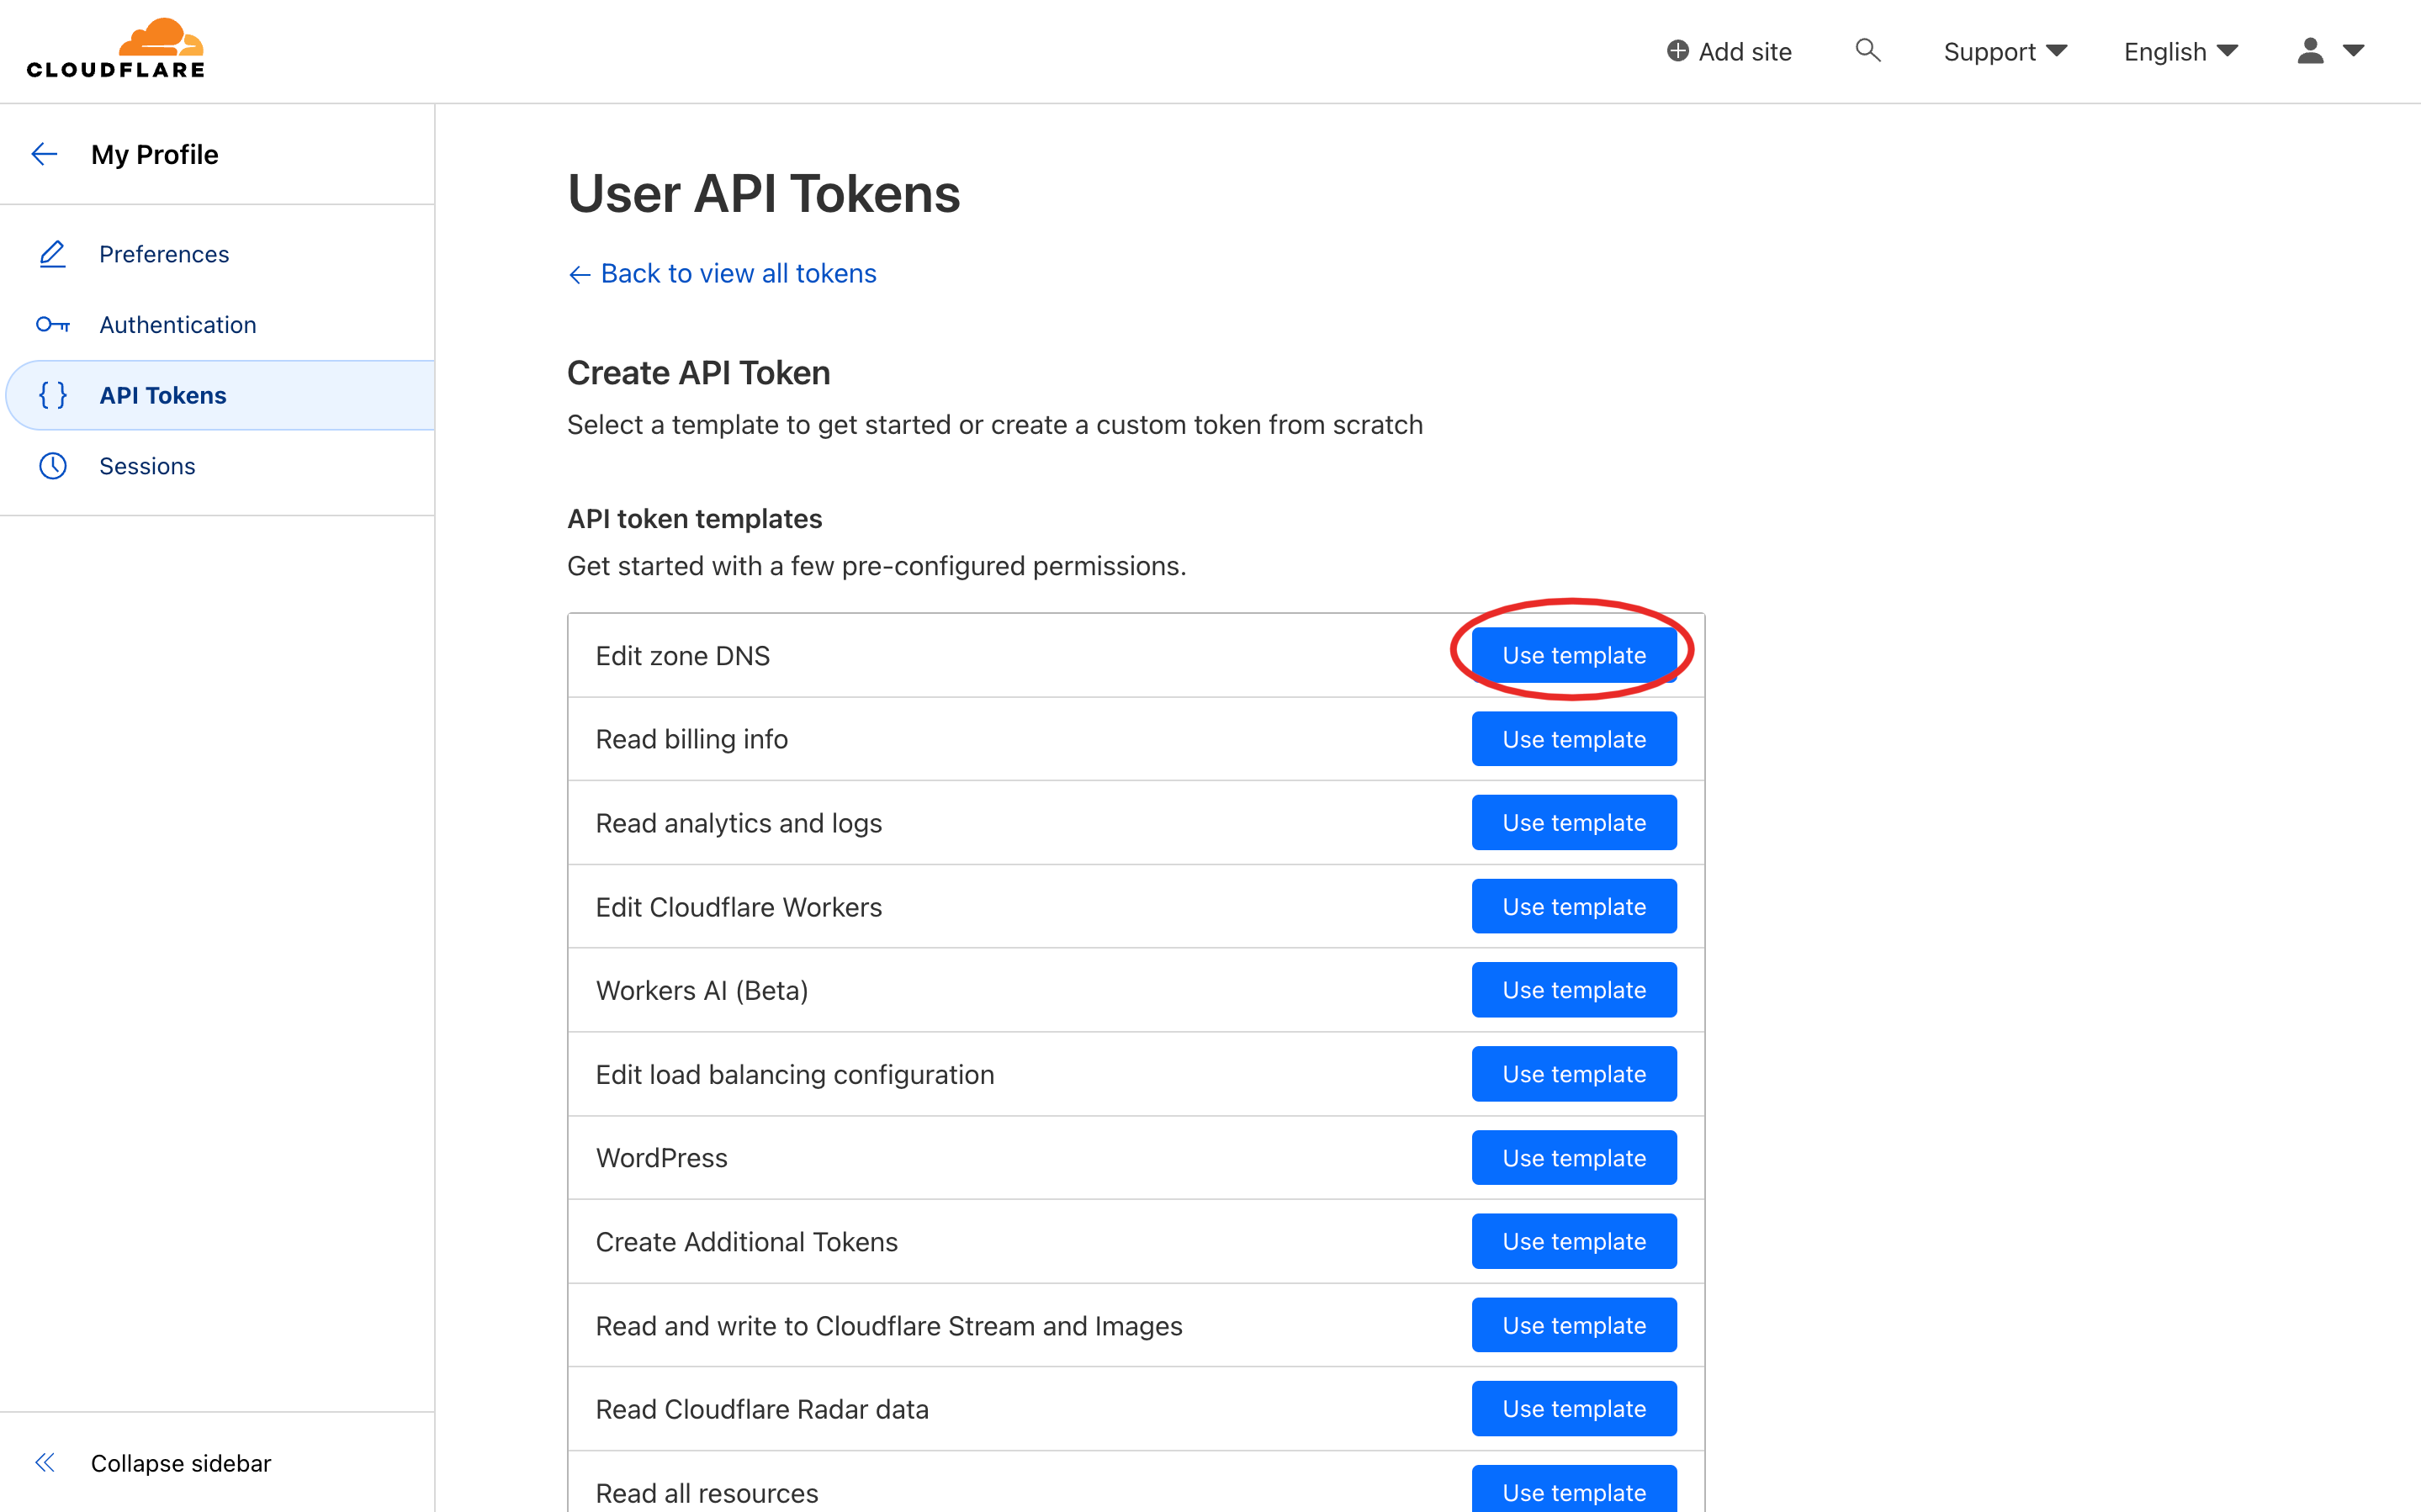
Then choose the right template:
Then choose the DNS zone:
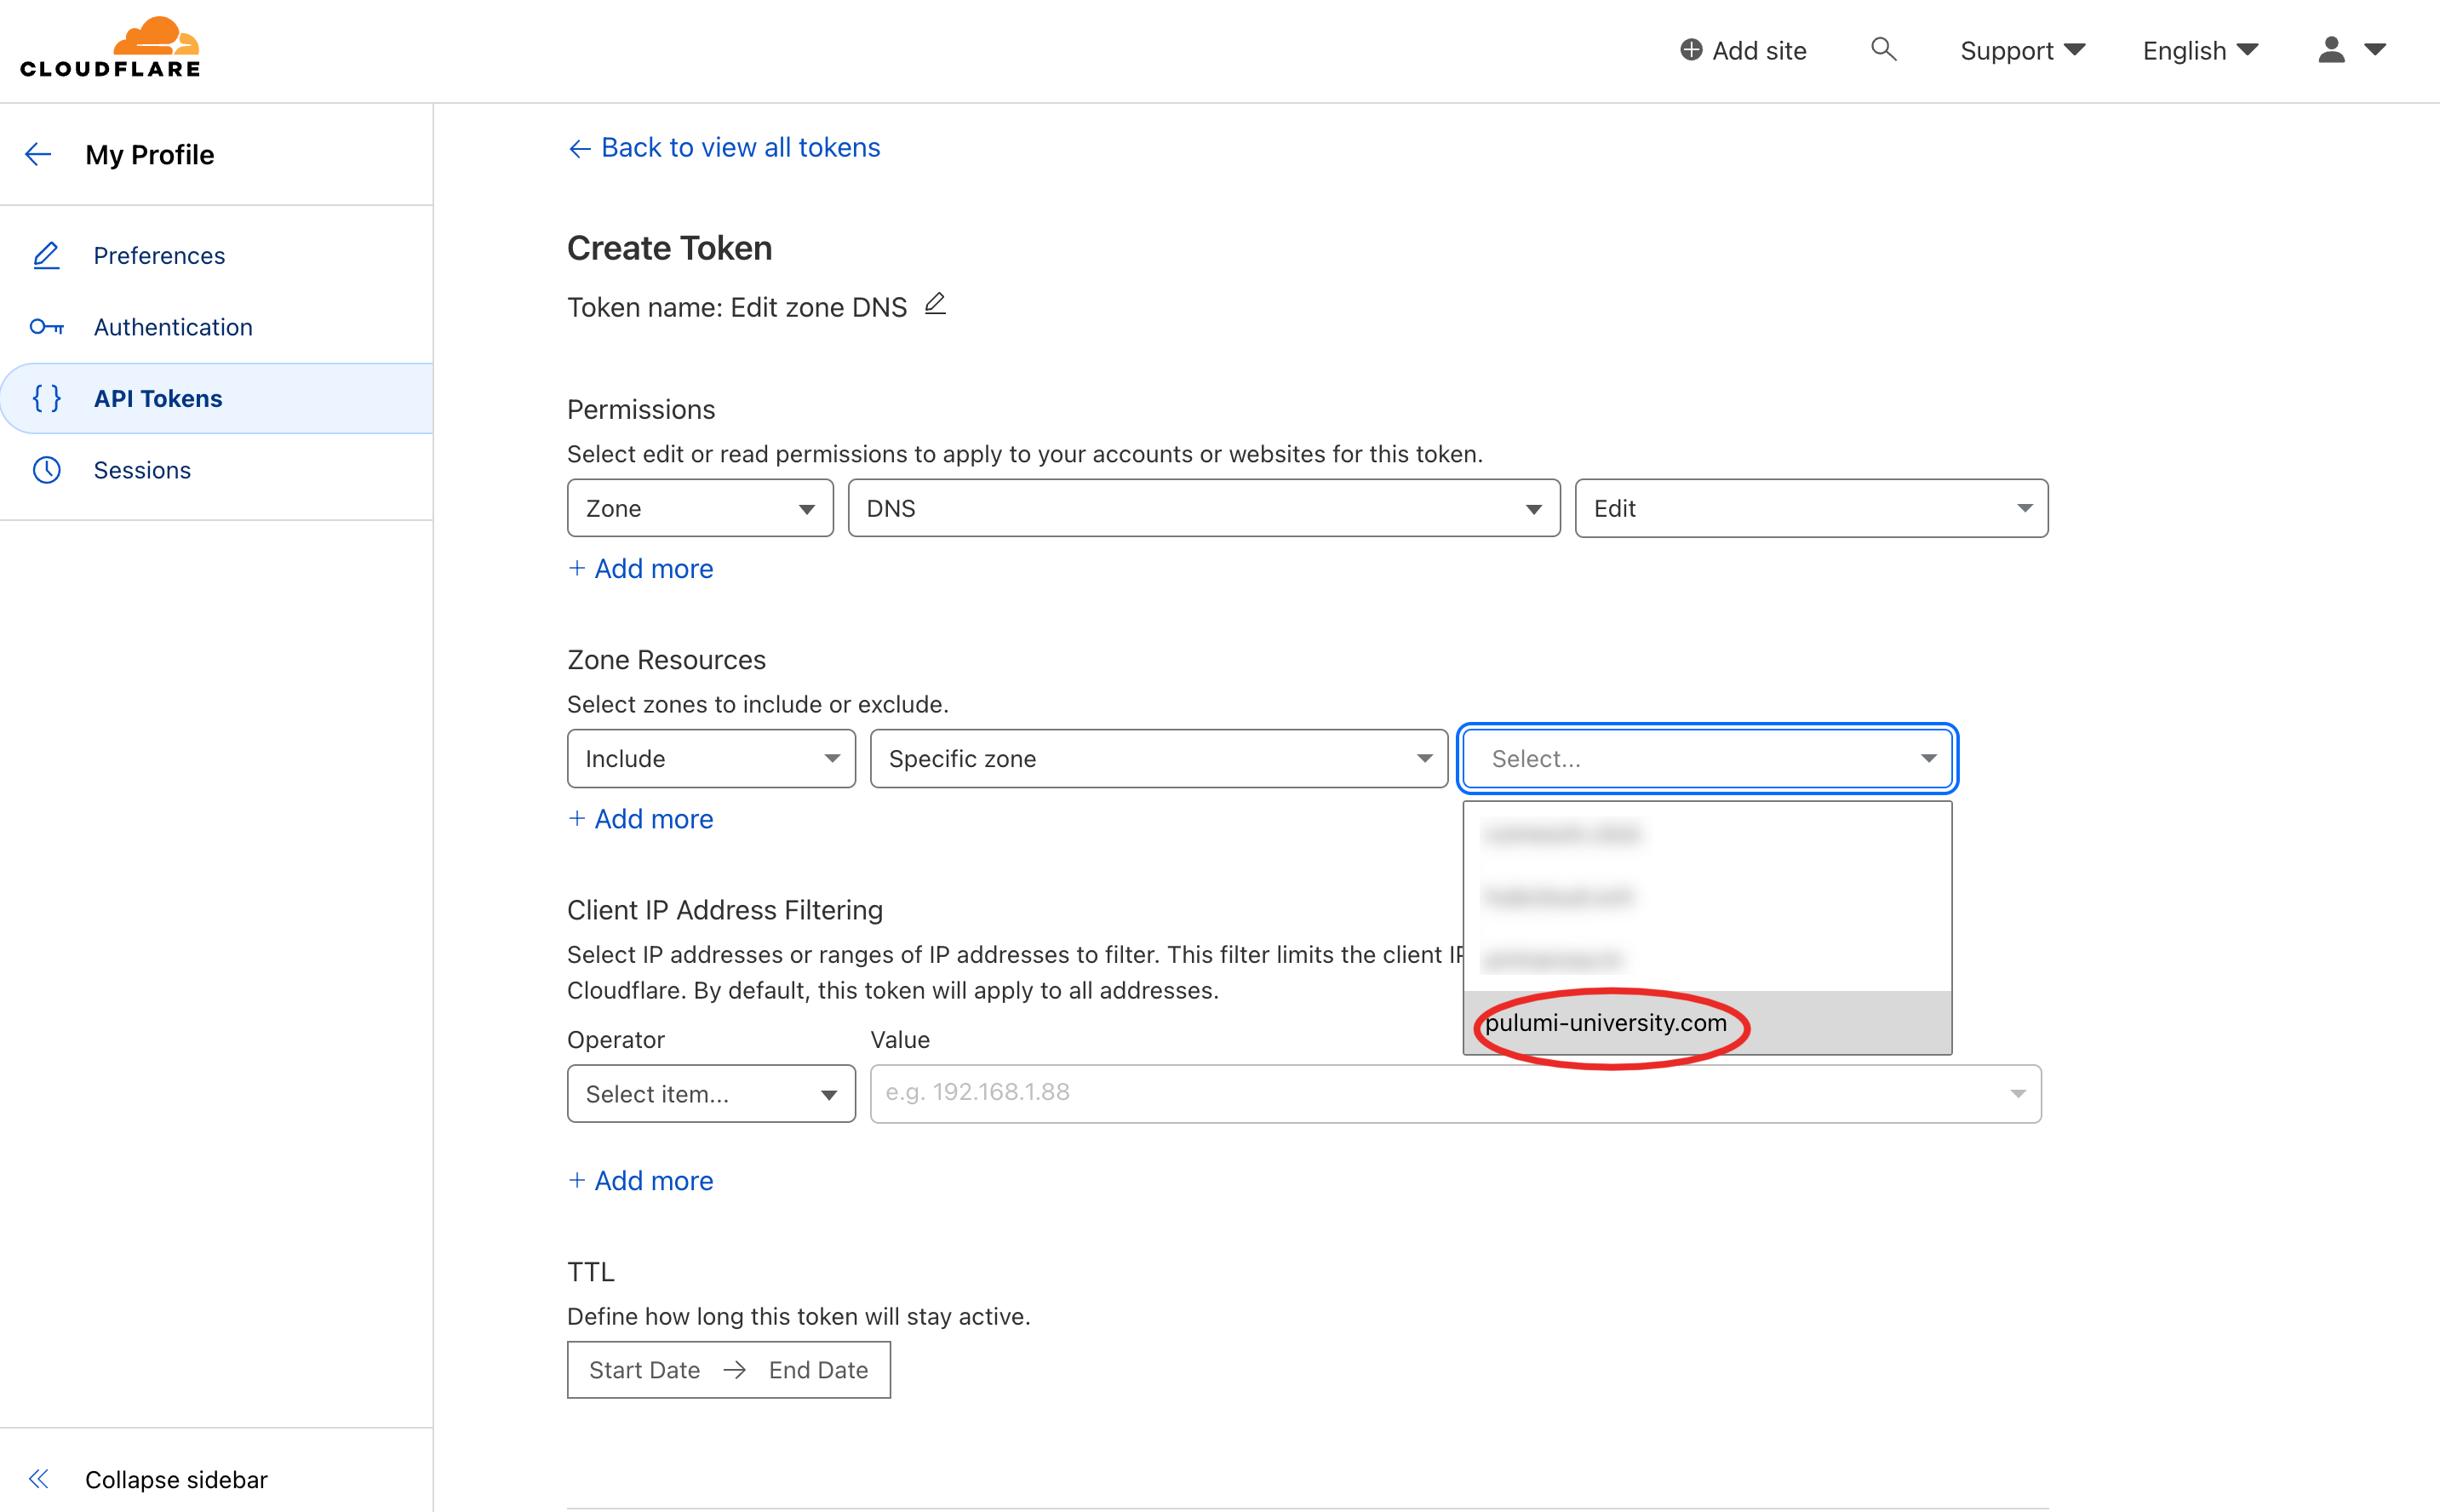
Then you can copy/paste the generated token:
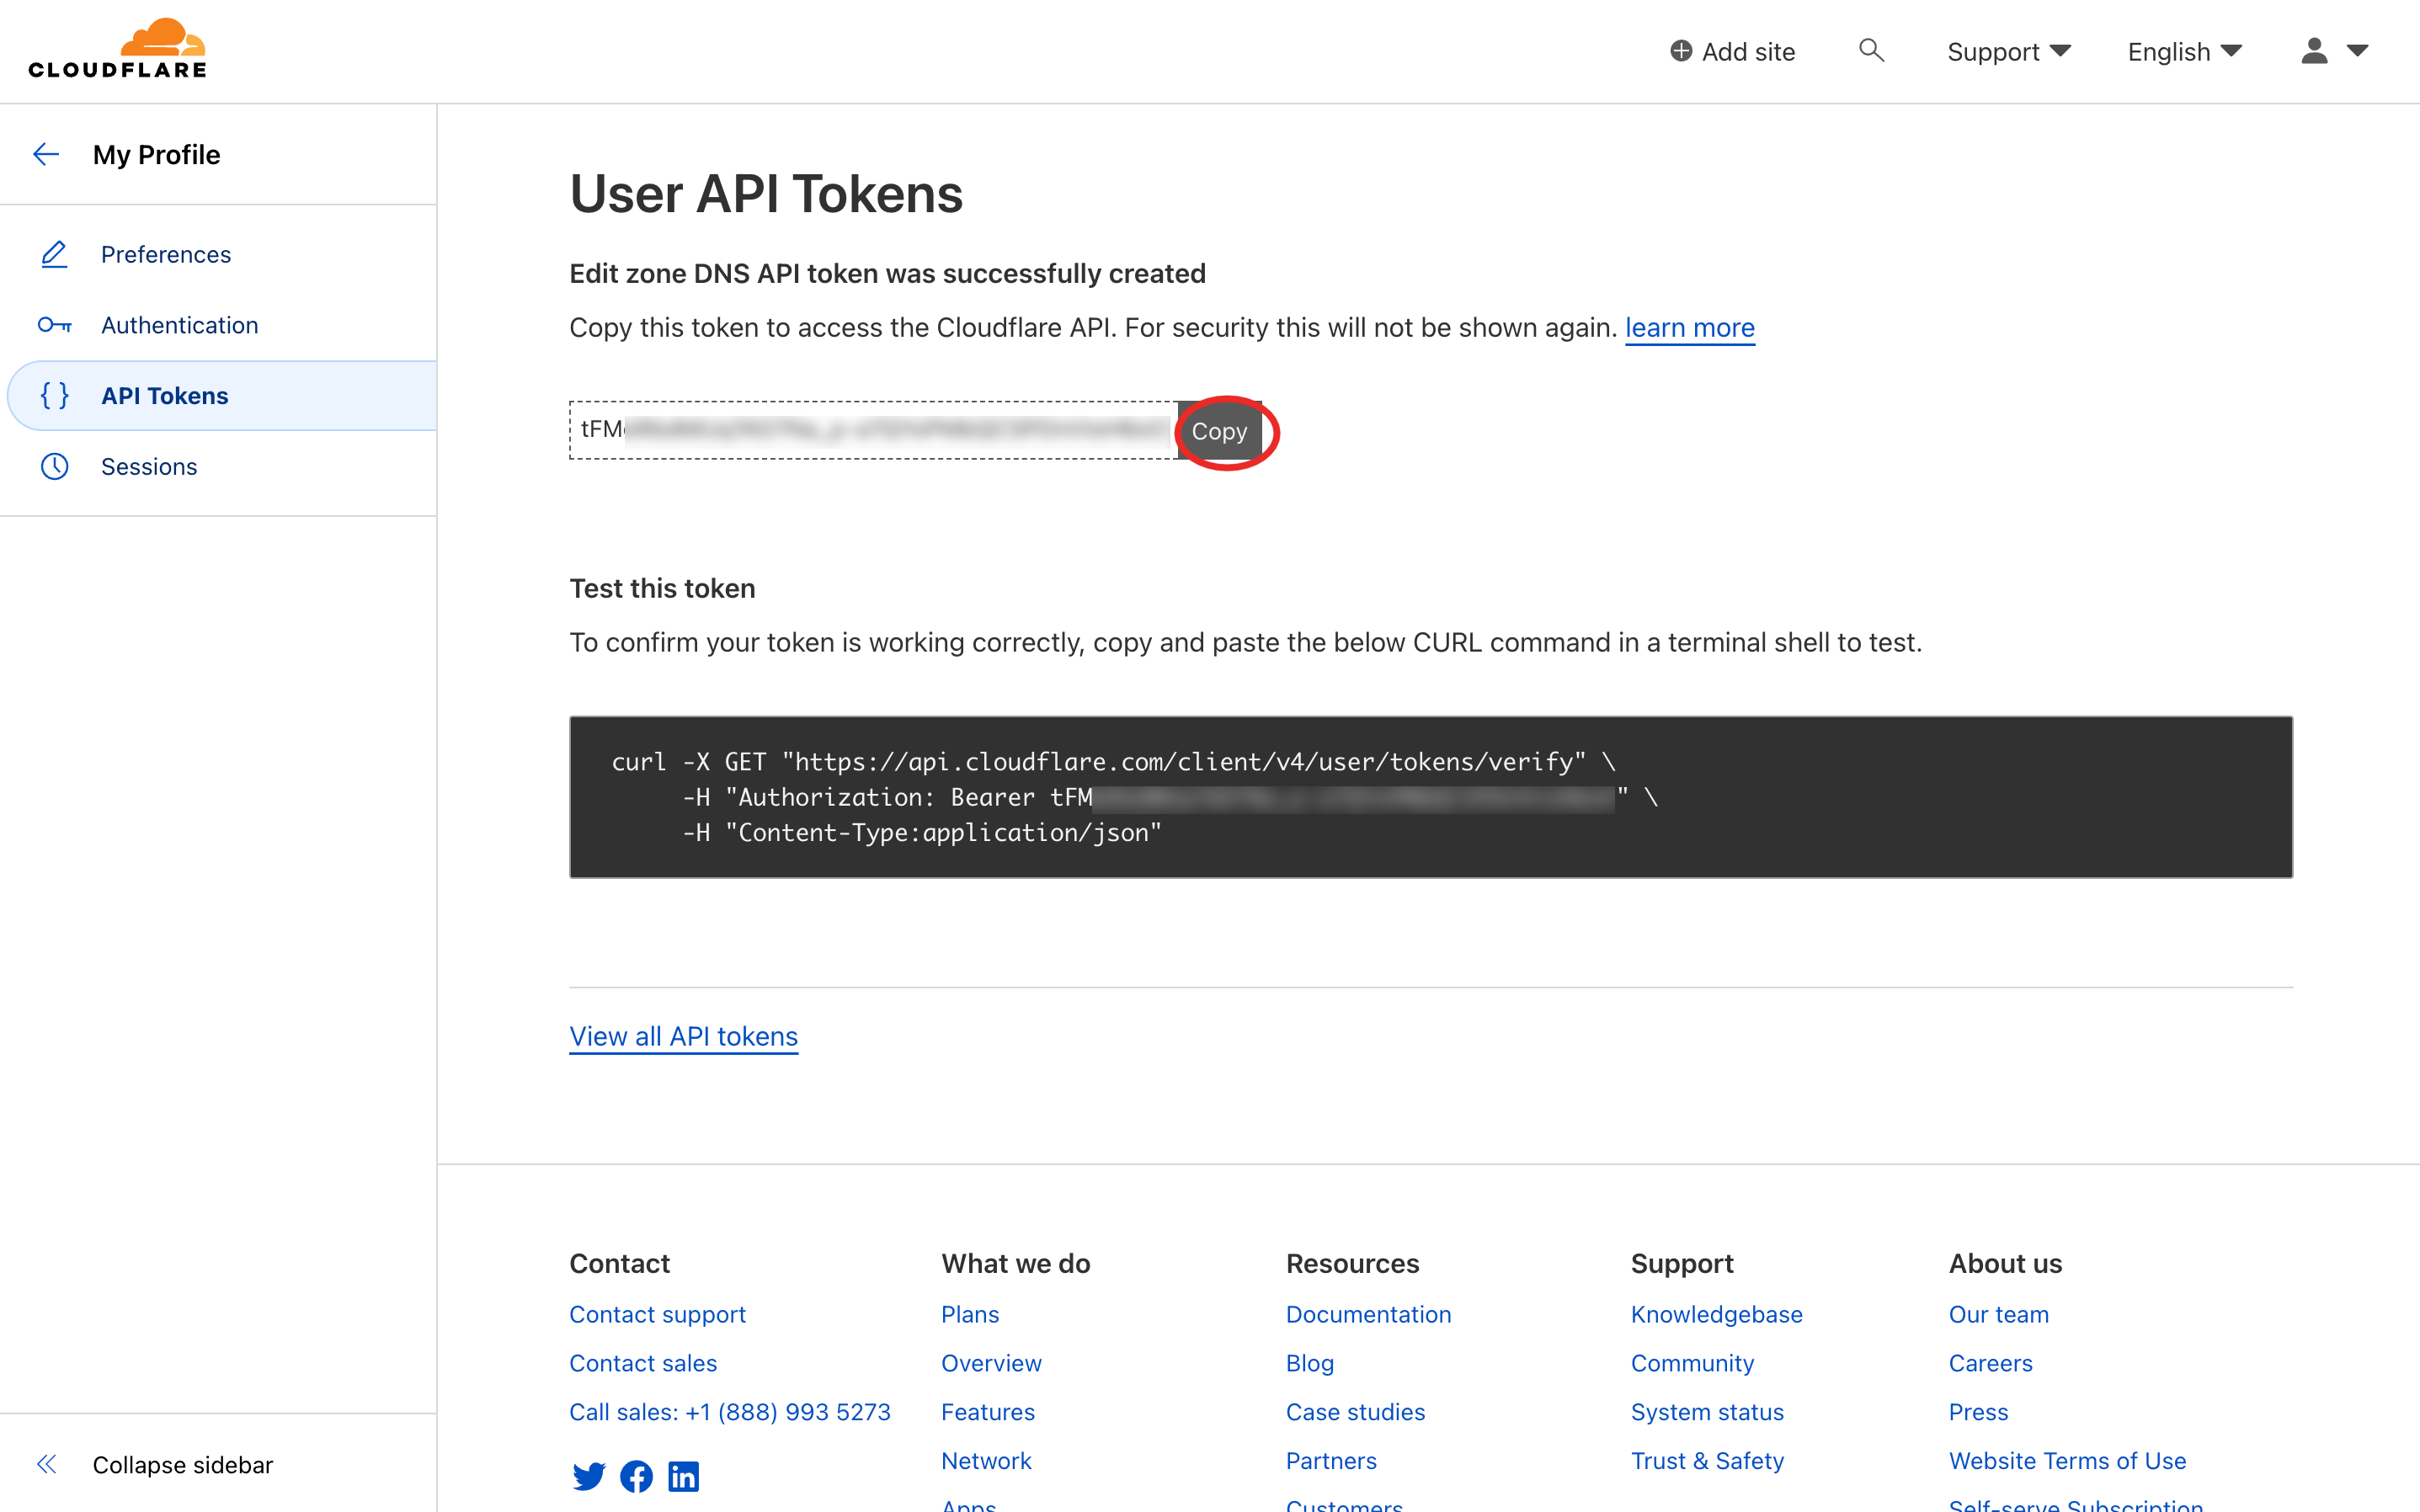
You'll have to set the CLOUDFLARE_API_TOKEN environment variable with this token.
- You can add the DNS zone in the
cloud_environments.ymlfile:
dns_zones:
  - name: pulumi-university.com
    driver: CloudflareDriver
    zone_id: XXXXXXX
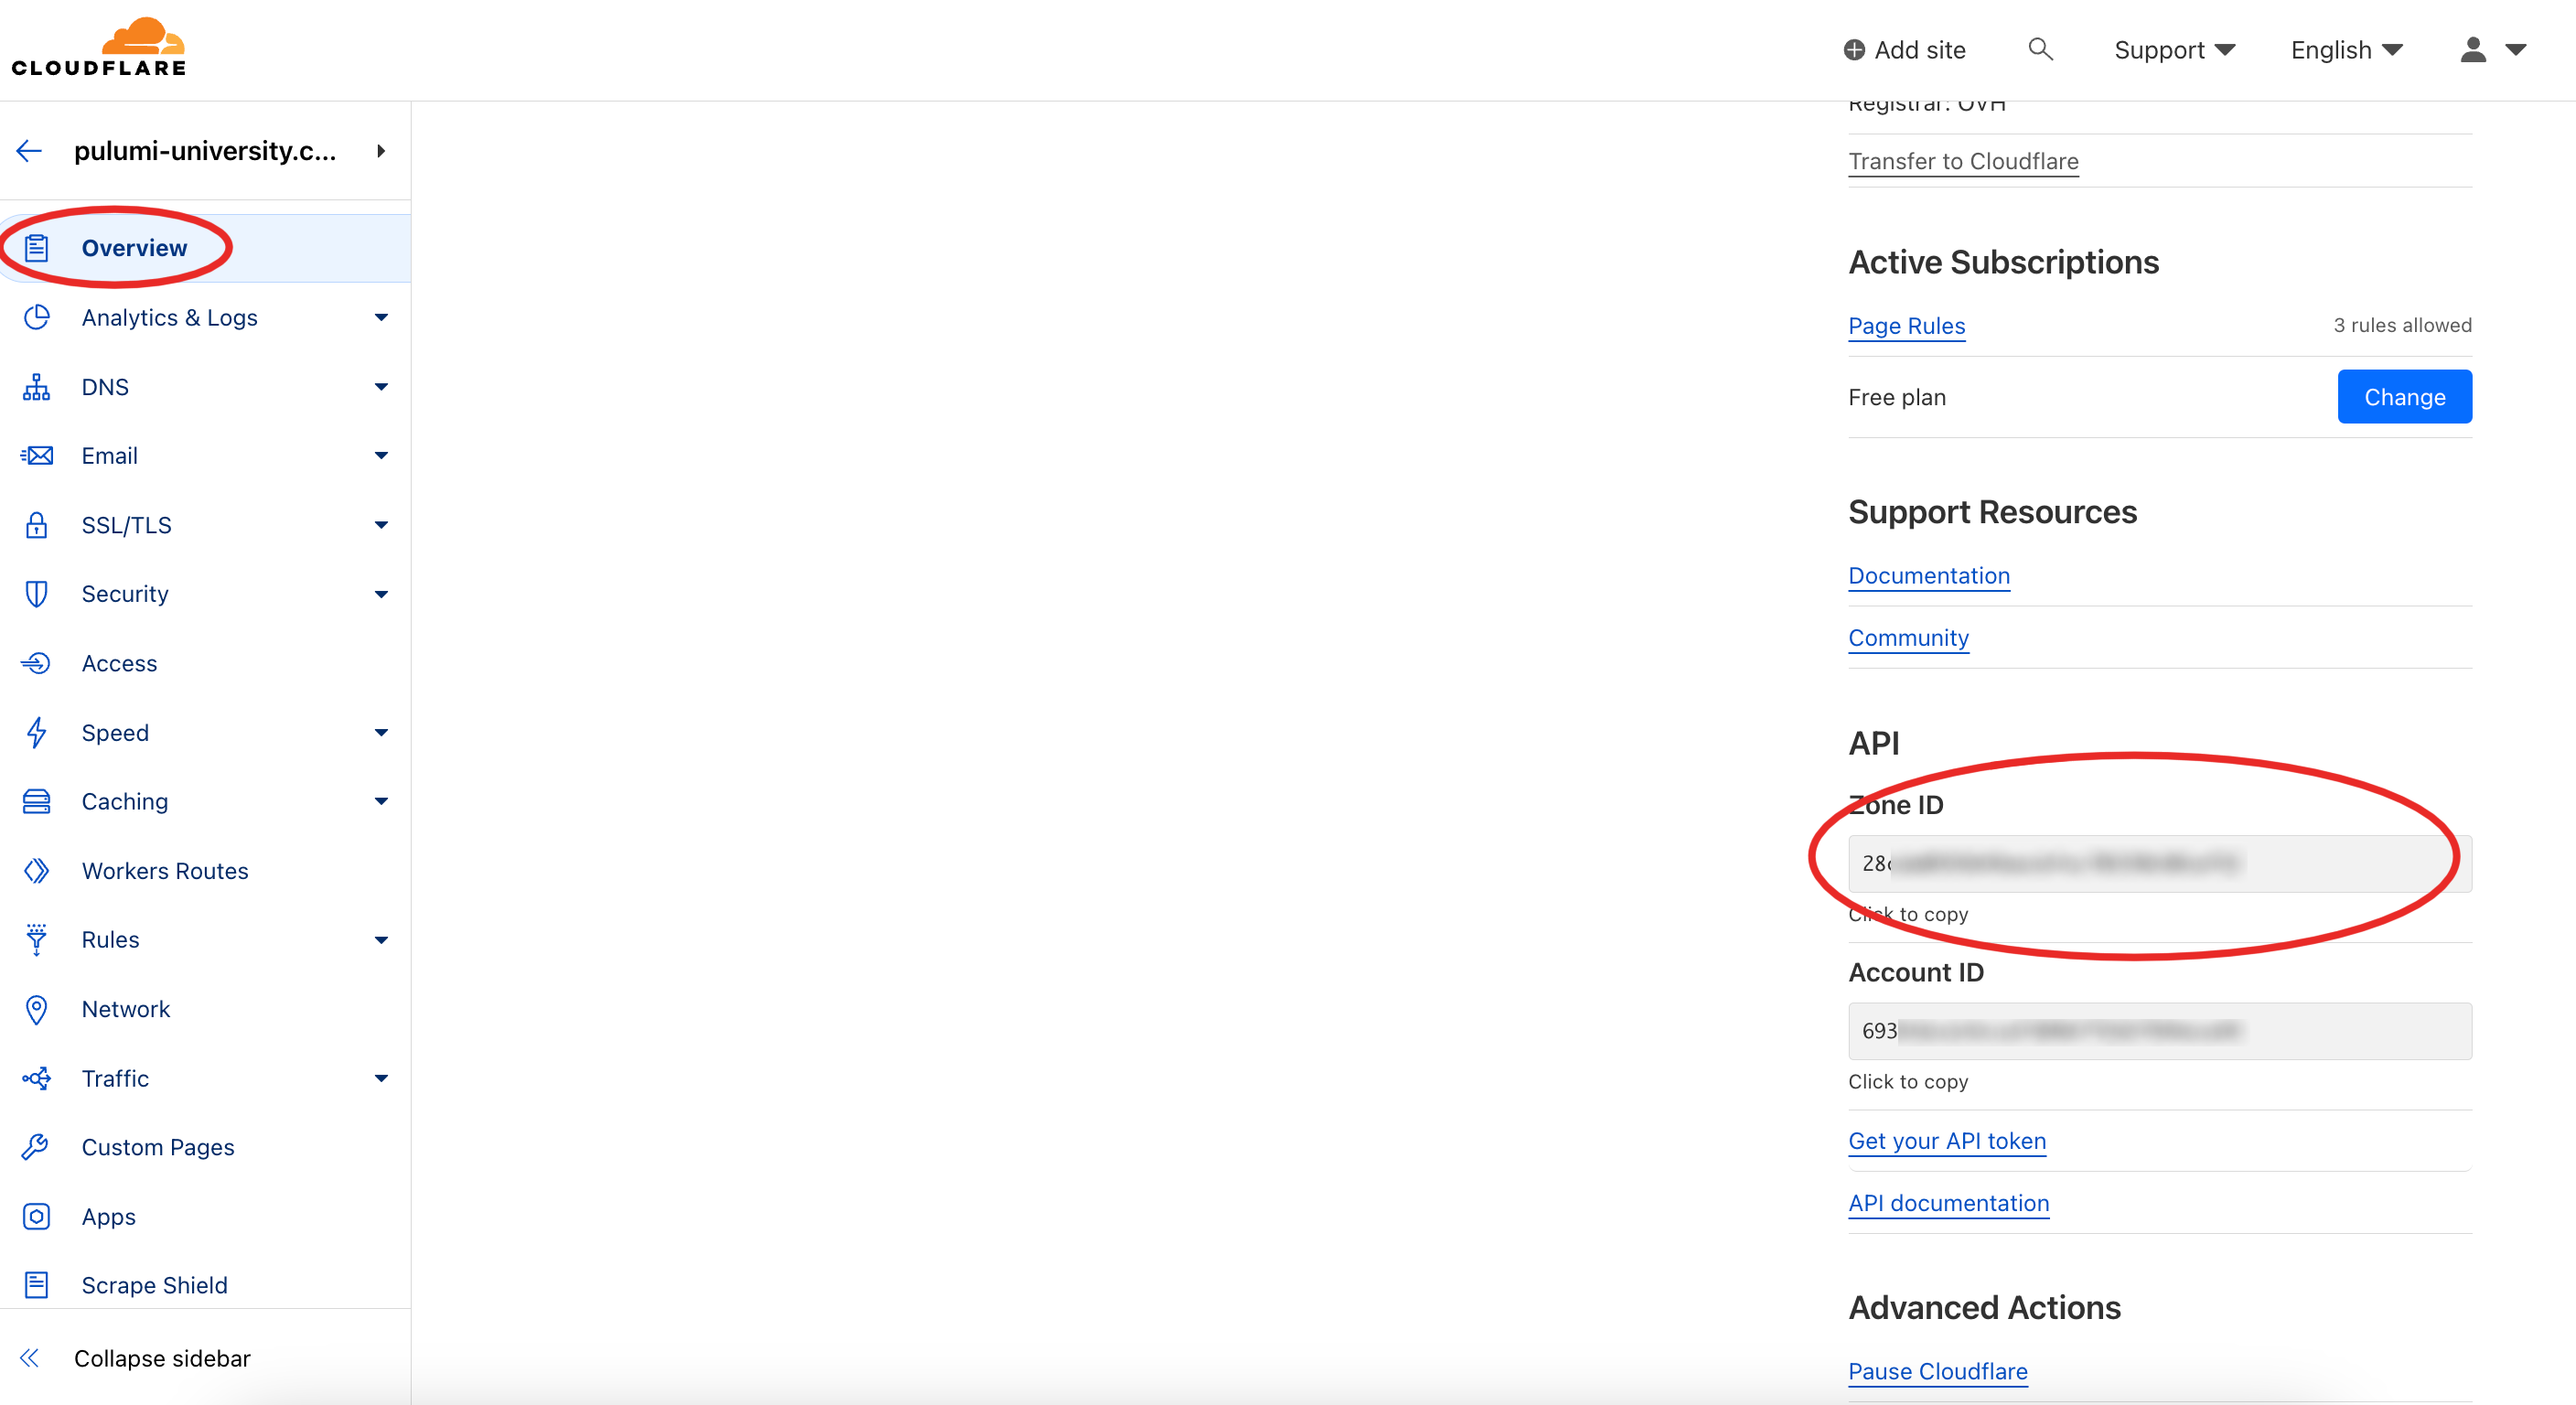
In order to get the zone_id, you can go on cloudflare and copy/past the following value:
